Latest news about Bitcoin and all cryptocurrencies. Your daily crypto news habit.
Understanding React Using Your Angular Knowledge
After about six years of working in different web apps with Angular (My first app was with Angular.js), I finally had the opportunity to add to my professional portfolio a couple of React apps. Adapting my brain to the “React Style” to do things required me a significant amount of time. In this post, I’ll cover some of my experiences switching from Angular to React.
This article is not a React vs. Angular comparison but a guide to switching between these tools with less effort. You have to understand that having in-depth knowledge of both frameworks is a must.
My first Advise
I highly recommend stopping trying to solve problems in React using the Angular approach :D Happy coding!
Before starting, let’s talk the same language
To refresh your Angular vocabulary, please take a quick look at the official documentation here.
The React most used terms are:
- Compilers: The tools that allow us to work using the last features of JavaScript.
- Bundlers: Most of the time refers to Webpack. These tools map the files to work in development and create the production bundle using JavaScript optimization techniques, including support of legacy browsers.
- Package managers: The library manager for our apps. Before the package-lock.json appears, people prefer to use Yarn. These days, There is not a big difference to pick between NPM or Yarn.
- JSX: The React template system. Go here for a basic introduction or go to the official documentation to find a complete tutorial.
This transforms:
In to this:
5. Elements: Code that represents what you want to see in the screen. const element = <h1>Hello, world </h1>.
6. Components: Functions/Classes with the behavior of each Element.
7. props: The @inputs of React component. The props represent the communication channel from the parent to the children.
8. props.children: Reserved prop who contains the content between the opening and closing tags: <myHair>{/* props.children */}</myHair>.
9. state: Variables managed by the Component that could trigger UI updates.
10. Events: Functions executed by the Components. The React Events could be associeted with HTML Events.
Getting started
Angular is a JavaScript framework created by Google. It includes a complete ecosystem that allows you to create dynamic web apps. It consists of a module and template system, a way to manage forms, an HTTP library, a route system, and so on. That’s why we’re allowed to create apps without thinking on extra packages. Most of the Angular developers start creating their apps using the command line interface tool included in the Angular ecosystem.
React is a JavaScript library which allows us to create web components. When creating dynamic web apps, React needs to interact with different libraries. The most typical setup includes integration with a way to manage forms, an HTTP library, a route system, and so. There is no right answer about which library combo is the best. Most of the React developers start with “Create React App” or “React Slingshot”. I recommended start with the official documentation and pick the starter kit according to each project’s needs.
The code structure
Angular has a clear code structure. You have the template, the styles, and the JavaScript file. Each file has its domain and preserved the native langue. The template uses HTML, the styles use CSS/SCSS/SASS, and the JavaScript file uses Typescript. This structure allows Backend developers to generate users interfaces with code that is familiar for theirs.
In React, the scenario is different. Some developers feel like they are the Kings because they have total control of the project. It means the developer can use separate files like Angular does or go with a single JavaScript file that includes the template, the styles, and the behavior.
Enough theory, Let’s see some real code
One of the recommendations to begin getting pro with new technology is to start with the official documentation. On this section, I’ll follow the same approach but a bit different. Let’s build together the “Getting Started with Angular: Your First App” using React.
Create a new project
In the same way as the official documentation, I prepare a StackBlitz repo.
Go here and fork the project to start.
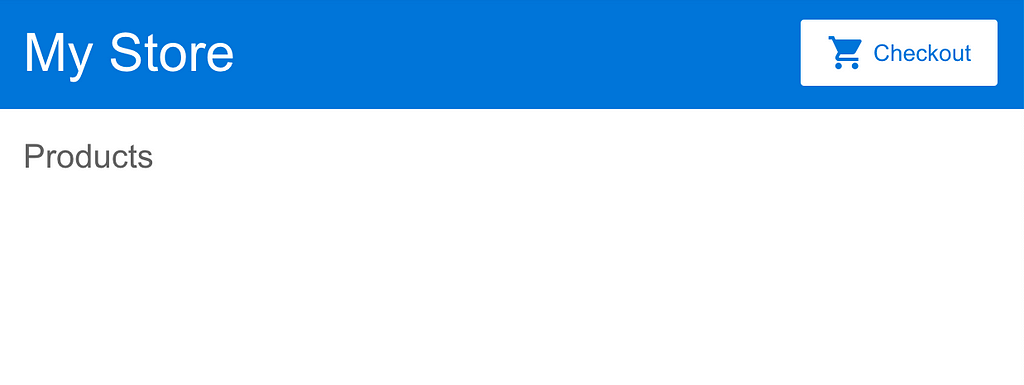
With the initial configuration, the app should looks like:
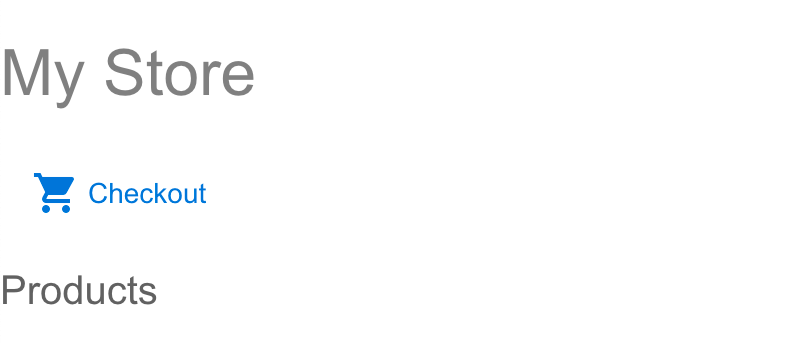 Starter state for React tutorialThe styles problem
In Angular, each time we generate components, a new valid HTML element is created. The React world is all about functions returning JSX, and it won’t create any extra element to wrap the component. In this tutorial, we are using the Angular started kits, this we need to ensure the app will work with the React implementation. If we go to the style.css, there is a CSS rule pointing to the app-top-bar, that selector won’t exist in React. To quickly fix it, let’s add a div with a class to identify that element, instead of creating a new tag selector like this:
- Go to TopBar.js
- Ensure the parent element to be <div className="app-top-bar">.
- Go to style.css, replace app-top-bar with .app-top-bar.
- Remove the router-outlet + * selector and add the padding to the .container.
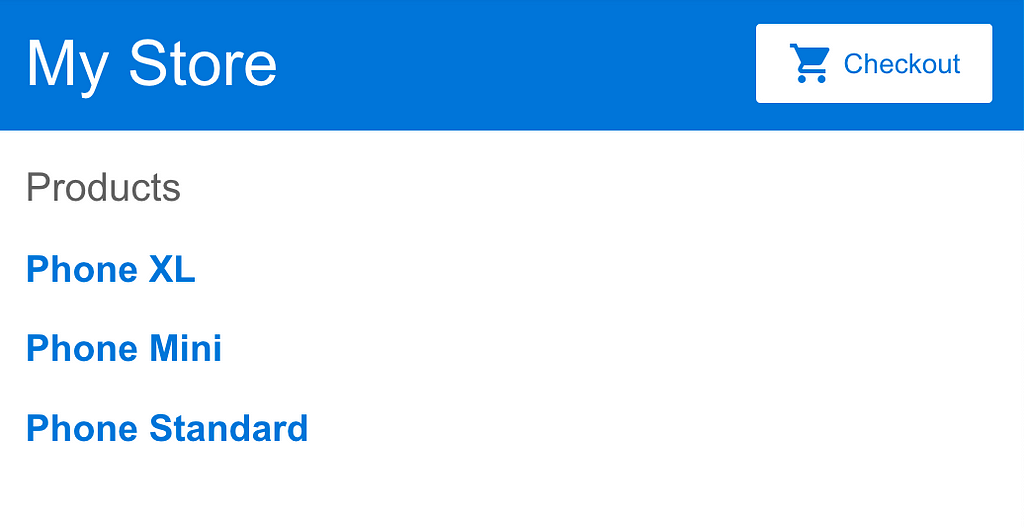
At this point, the app should look like:
In React, there are no specific directives to iterate in JSX. Everything is JavaScript then we iterate using JavaScript. To render the products in the ProductList component, do the following steps:
- Go to ProductList.js
- Add the following code below <h2>Products</h2>:
With those changes in place, the app should look like:
What is this?Remember, everything in React is JavaScript. The information about products is present in the products variable. Therefore, we can use the operator map to generate the required JSX code.
Notice the anchor element add the property title using curly braces. It allows JSX to execute a JavaScript expression. In this example, we are generating the title using the literal string.
Conditional rendering
To conditional render an element in React, we should use one of the following options: 1) An if else statement, 2) A ternary conditional or 3) Use the short-circuit evaluation technique.
- Go to ProductList.js
- For the short-circuit evaluation, add the following code below the </h3> closing tag.
3. For the ternary conditional use:
4. For the if-else statement, add the following lines
The app should look like:
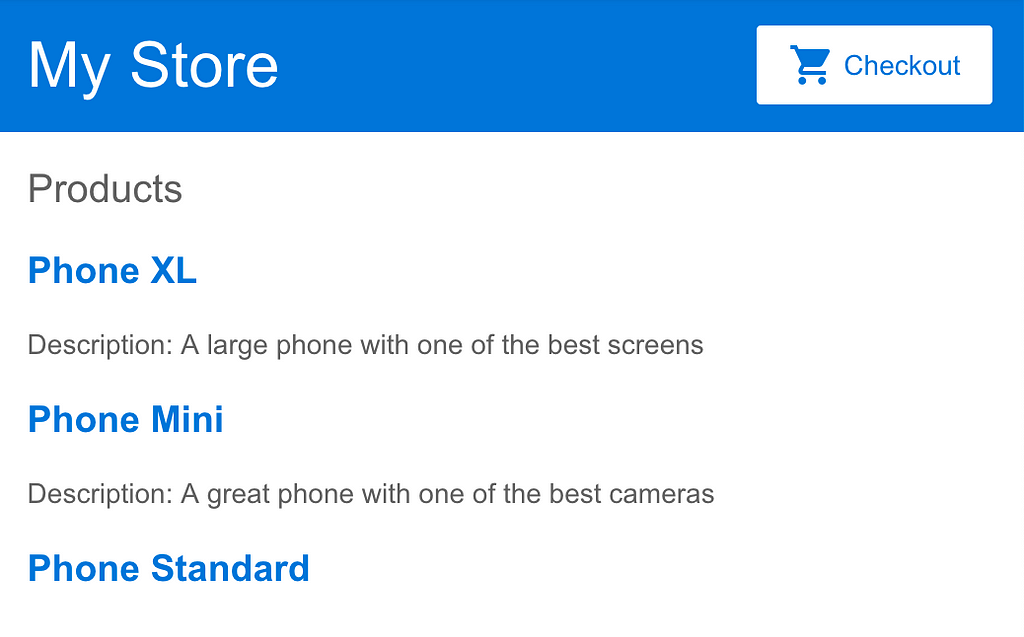 App with description and conditional renderingHTML event listener
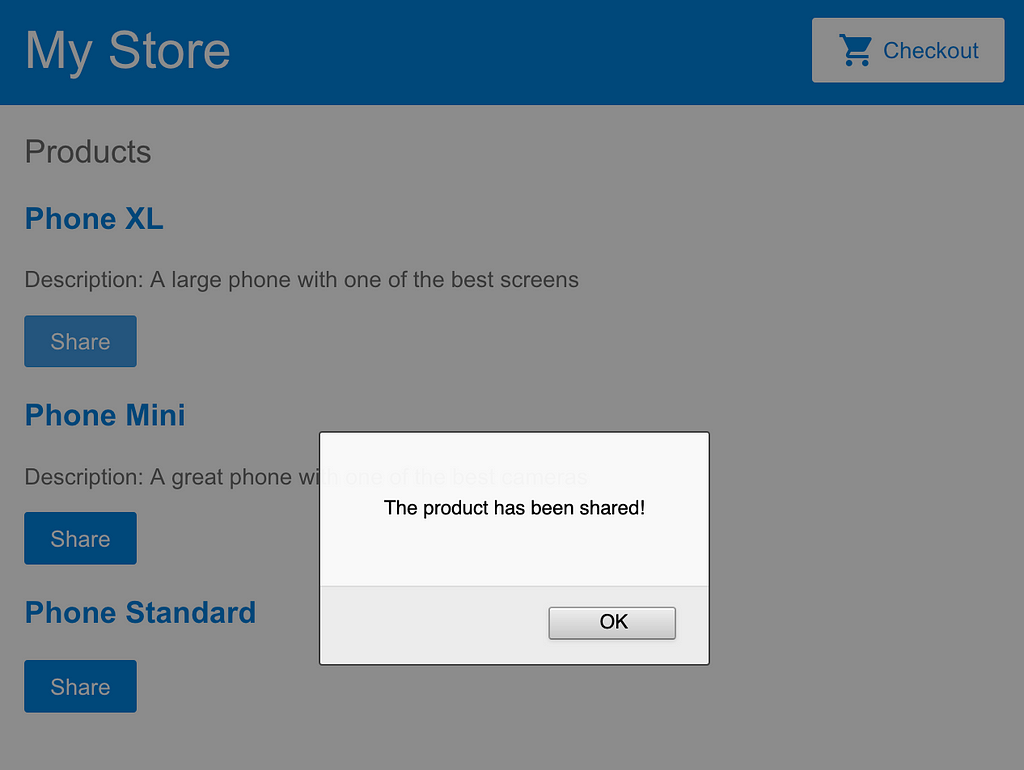
With JSX, developers will have access to the HTML events directly in the element. To execute the function share() after clicking a the Button, do the following:
- Go to ProductList.js
- Bellow the Product description element, add the following
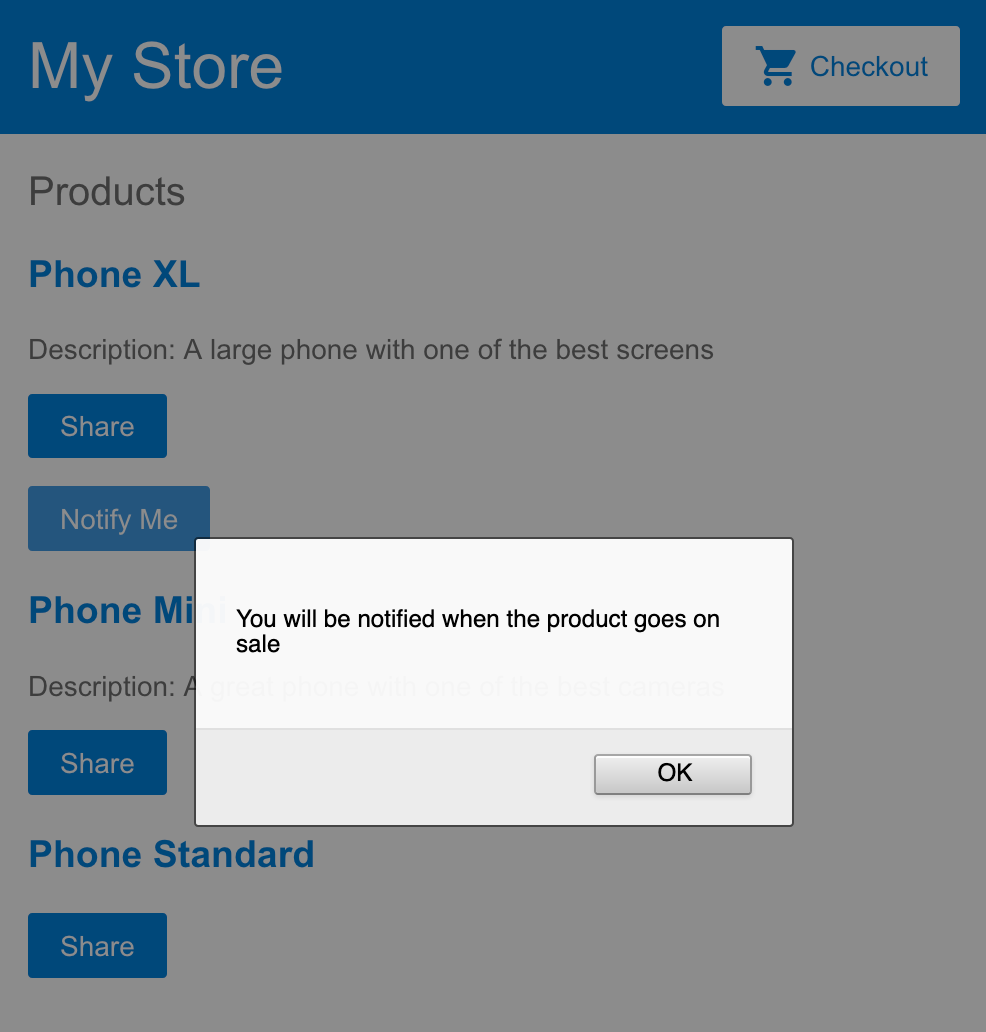
After click in the Button, the app looks like this:
The component system in React consists of functions that return the required JSX code. The params of the function are the props received by the component, and the template is the JSX returned statement. To generate a new React element, do the following:
- Add a new file: ProductAlerts.js
- Inside ProductAlerts.js, add the following code:
3. Go to ProductList.js
4. Import the component
import ProductAlerts from ‘./ProductAlerts’;
5. Add the following code below the button closing tag
<ProductAlerts product={product} />The app should look like:
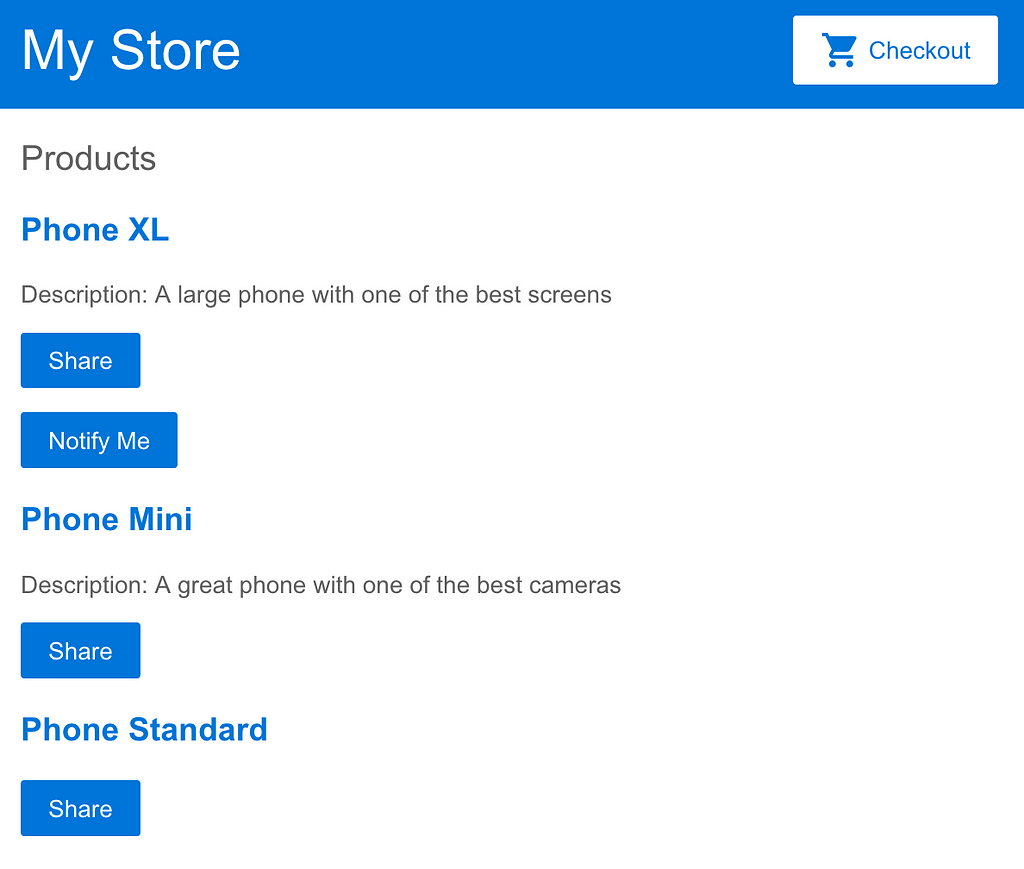 App with children notification component
What is this?
We are generating a new React component. A React component is a JavaScript file that imports React and exports a function which returns JSX code. In the ProductList file, we are providing the prop product. It allows us to use that variable inside the ProductsAlerts through the params of the function.
The React “output”
Let’s start this section saying that output concept of Angular doesn’t exist in React. The communication between components occurs in one way. However, it is possible to execute a method of the parent providing a reference of the function to the child.
- Go to ProductList.js
- Add the following code below the share() function.
3. Add a new prop to the ProductAlert component and pass the reference of the onNotify function.
<ProductAlerts product={product} notify={onNotify} />4. Go to ProductAlerts.js
5. Add the new prop name to the params
const ProductAlerts = ({ product, notify }) => {6. Attach the click event, providing the prop received into the onClick prop of the Button.
<button onClick={notify}>Notify Me</button>Now, if you click in the notify button the app should looks like:
What is it?
In JavaScript, when we reassign a function into a variable, we are not creating a new instance of the function but a reference. Hence, if we execute notify() inside the ProductAlerts component, the onNotify function is executed.
The project’s code
The Angular solution to this tutorial can be found here:
The React solution to this tutorial can be found here:
What’s next?
In the following post, I’ll be creating the following sections of the “Getting Started with Angular: Your First App” tutorial using React. I hope you find this useful to understand the concepts behind React as an Angular developer.
Thanks for reading, please support me sharing this article or following me on Medium and Twitter or LinkedIn.
Understanding React using your Angular knowledge was originally published in Hacker Noon on Medium, where people are continuing the conversation by highlighting and responding to this story.
Disclaimer
The views and opinions expressed in this article are solely those of the authors and do not reflect the views of Bitcoin Insider. Every investment and trading move involves risk - this is especially true for cryptocurrencies given their volatility. We strongly advise our readers to conduct their own research when making a decision.
