Latest news about Bitcoin and all cryptocurrencies. Your daily crypto news habit.

In this article, I will share with you the process we made to replace our legacy back-end infrastructure with a fully Dockerized environment, with CI/CD pipeline, and how you can implement it yourself in minutes.
When we decided to make this change, we had a single EC2 server running 8 Node.js processes (using pm2). For every server deploy we had to connect to that server via ssh, upload the new artifact and restart the web server.
What I looked for a highly available, fast and VPC peering compatible solution (we use SaaS services we want to secure with VPC peering).We looked at other web services such as Heroku, but our requirements didn’t meet.
After long days of looking for the fastest (the irony!) and with the least DevOps in-mind way, I found a cool library called mu (pronounced mew, like a cat) which gives you an end-to-end solution to manage your web service based on AWS.
In a nutshell, this is what you can do with mu:
- Create an environment (i.e. staging, production) which includes VPC, 3 subnets for high availability, ECS Cluster (Fargate or EC2), Auto Scaling Group and an Application Load Balancer
- Create a service that includes a Docker repository (ECR), ECS service, ECS task definition, and a Target group (for the load balancer).
You can do much more with mu, but we’ll start with the basics.
By the end of this article, we will create a staging environment and deploy a simple Hello World web server to it.
Prerequisites
- Linux or macOS development environment.
- AWS credentials configured locally (using “aws configure” command) with permissions to create and manage resources.
Let’s start!
- First, we need to install mu. Using :
curl -s https://getmu.io/install.sh | sh
Or by using Homebrew
brew install stelligent/tap/mu-cli
2. Fork the following hello world git repository and clone it locally (I’ll address it as the “repo folder” from now on)
3. In the repo folder, create a file named mu.yml:
This file holds the configuration for our staging environment and web service.
4. Let’s create our staging environment.
cd REPO_FOLDER_PATHmu environment up staging
This command will take up to five minutes to run.It will create the staging environment: a VPC, a Fargate ECS cluster, an Auto Scaling Group, and an Application Load Balancer.
5. Let’s push our web server to a new ECR repository (your own private docker repository)
mu service push
This command will “docker build”, “docker tag” it with the current (abbreviated) commit hash (i.e. 6f81e8d) and “docker push” it to the ECR repository.
6. Let’s deploy our service to staging
mu service deploy staging
This command will create a new ECS service and task definition for the latest docker build.
7. Let’s get the Application Load Balancer url, run the following and copy the Base URL value:
mu environment show staging
By this time, your web server is up and running on the staging environment which you can see for yourself by going to the Application Load Balancer url.
By now we created the infrastructure for our web server, now let’s create the CI/CD pipeline.
We will do this using CircleCI build system. First we’ll config everything and then explain what just happened.
Note: Mu has a built-in pipeline ability, which creates this entire CI/CD pipeline using AWS utils (CodeCommit, CodeBuild, and CodeDeploy).That’s an awesome feature, but where I work we already use CircleCI build system and didn’t want our builds to vary between systems.
Prerequisites
- Register to CircleCI, it‘s simple, easy to work with and most important, free for open source projects :)
Let’s start!
1. Add the following config.yml file to the repo folder under .circleci new folder:
2. Change the app.js to send “Hello mu” instead of “Hello World” in the get “/” method.
3. Commit and push
git commit -am"Add .circleci/config.yml file and hello mu!"
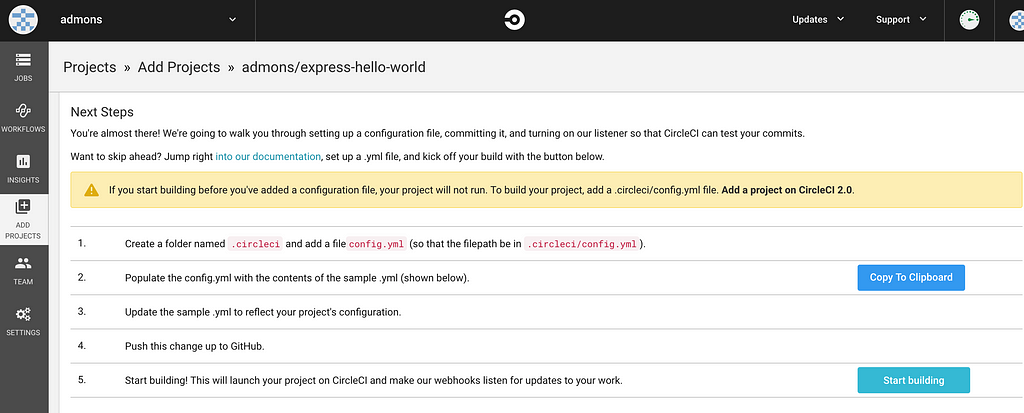
4. Login to CircleCI, click on “Add Projects“ and then “Set Up Project“ blue button next to the “express-hello-world” project.
5. Leave the “Linux” and “Node” buttons on, and click on “Start Building” button.
6. Click on the Options icon button next to the “express-hello-world” project.
7. Click on the “Environment Variable” link under the “BUILD SETTINGS” and add “AWS_ACCESS_KEY_ID”, “AWS_DEFAULT_REGION” and “AWS_SECRET_ACCESS_KEY” as an environment variables.
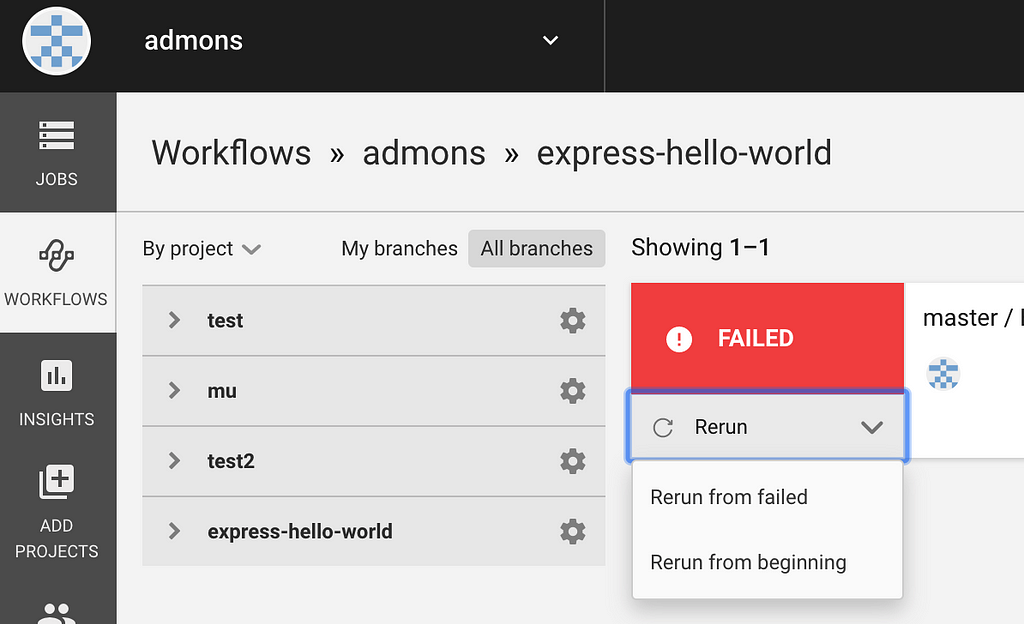
8. Click on “Workflows” on the left menu, click on “express-hello-world”, “Rerun” and “Rerun from failed” buttons.
9. Refresh the page after ~2 minutes, you’ll see the workflow goes to “Waiting” status. Click on the status and on the “approve-to-deploy” step, approve it, and wait for your service to deploy. You can check it by going to the ALB url and see that beautiful “Hello mu” message.
That’s it!
By now you have an automated process, triggered by every push, that runs your tests, build and push your web server to your docker repository, waits for manual approval and then deploys it to staging environment.
Mu has much more to offer, read all about it at Mu official wiki.
To remove all the resources created by mu, simply run mu purge type “yes”
Thanks for taking the time to read this article! If you enjoyed reading it, you can support me by giving this a bunch of claps :)Feel free to reach out for any reason at admon@wisdo.com
How to create a fully Dockerized environment on AWS in minutes was originally published in Hacker Noon on Medium, where people are continuing the conversation by highlighting and responding to this story.
Disclaimer
The views and opinions expressed in this article are solely those of the authors and do not reflect the views of Bitcoin Insider. Every investment and trading move involves risk - this is especially true for cryptocurrencies given their volatility. We strongly advise our readers to conduct their own research when making a decision.


