Latest news about Bitcoin and all cryptocurrencies. Your daily crypto news habit.

In the last post you learned about local state management in Flutter. Local state allows the widget to hold on to the data after the widget has been rendered again. For example you can keep track of list of tasks and update your user interface when new tasks are added/removed/updated/deleted etc.
This works great for the widget maintaining the state but if you want to share the state with other components then local state is not going to work. Consider a scenario where you are building an e-commerce application and want to access your shopping cart in several different widgets. If you have stored your cart in local state you cannot share it with sibling widgets. However you can pass the local state to the parent and then to the corresponding children. This can become very complicated if you are passing the state to a deeper nested children.
Global state to the rescue! Global state allows you to put data into a global object that can be accessed from any widget. No need to pass around state between different widgets like a crazy person.
Although global state allows your data to be shared and easily accessible from different widgets, it does not replace local state. They are both different and are used in different context.
There are several different ways of managing global state in Flutter. Some of them are listed below:
- BLoC
- Redux
- Inherited Widget
- Inherited Model
- Scoped Model
As you can guess, we are going to use Redux. If you want some background information on the Redux architecture then check out this article.
Implementation
In order to understand how to integrate Redux into a Flutter app, we are going to start with a very basic counter example AKA “Hello World of Redux”. We will start with main.dart file, which is also the starting point of our Flutter application. The main widget is simply going to load our custom “counter” widget as shown in the implementation below:
Nothing new here! Let’s check out the implementation of counter widget below:
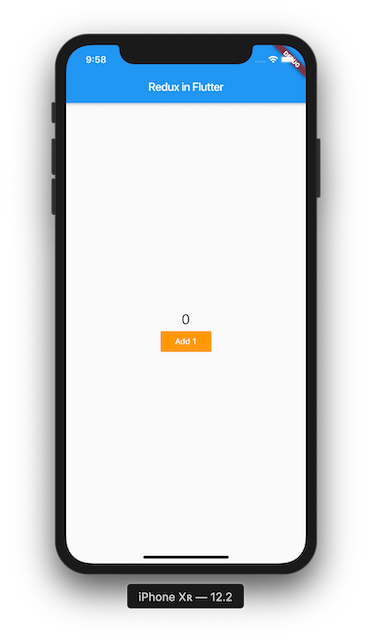
The counter widget simply displays the Text and FlatButton widget. If you press the button nothing happens. The screenshot below shows the user interface:
Next, we will setup Redux so whenever we press the button the counter value is incremented and available in global state.
Setting Up Redux and Flutter Redux
In order to persist the counter value into global state, we need two different packages redux and flutter_redux.
If you have worked with React, then you will find Redux easy to grasp since it follows the same exact concepts.
Open pubspec.yaml file and add the two packages as shown below:
Save your pubspec.yaml file and it will automatically starts downloading the two packages.
Although you can use any text editor you want to build your Flutter apps, I recommend VS Code since it has a lot of plugins, which makes your life easier and more productive.
Now it is time to configure Redux to work with our Flutter app. Implement the following code in main.dart file as shown below:
Inside the main function we are creating the store. This is the Redux store which will manage the global state. The state of the store is strongly typed to int indicating that the global state can hold types of int values. In order to create the store we need to pass it an instance of reducer and an initial state. Don’t worry we will implement the reducer shortly.
In the build function we are wrapping our MaterialApp widget with StoreProvider. The StoreProvider provides store access to the widgets. By wrapping the MaterialApp widget with store provider we allow the widget and all its child widgets to access the store AKA global state.
Now it is time to implement reducer. Add a new file and call is reducer.dart. To make code more structured and maintainable it is always a good idea to create a separate directory for store related stuff as shown in the following screenshot:
The implementation of reducer.dart is shown below:
The reducer is simply a function that takes in the old state and returns a brand new state.
Always return a new state and never ever modify the existing state. If you modify existing state then your app can run into complicated and hard to track issues.
Congratulations! You have setup Redux for your Flutter application. In the next section you will learn how to communicate with the global state.
Accessing Global State
In our counter widget we want to access the value of global state counter and then display it using the Text widget. In order to access the global state we need to use StoreConnector function. StoreConnector allows us to connect to the store and access values from the global state. StoreConnector is also used to dispatch actions and update the store, which we will see in later.
The StoreConnector requires two different things, converter and builder. It is convertor’s job to convert the data into appropriate view model that can later be used by the builder function to build the user interface. The builder function uses the view model and then use it to assign values to the widgets.
Before running your application update the initial state in main.dart file so that we can confirm that the Text widget was able to display the state value from global state.
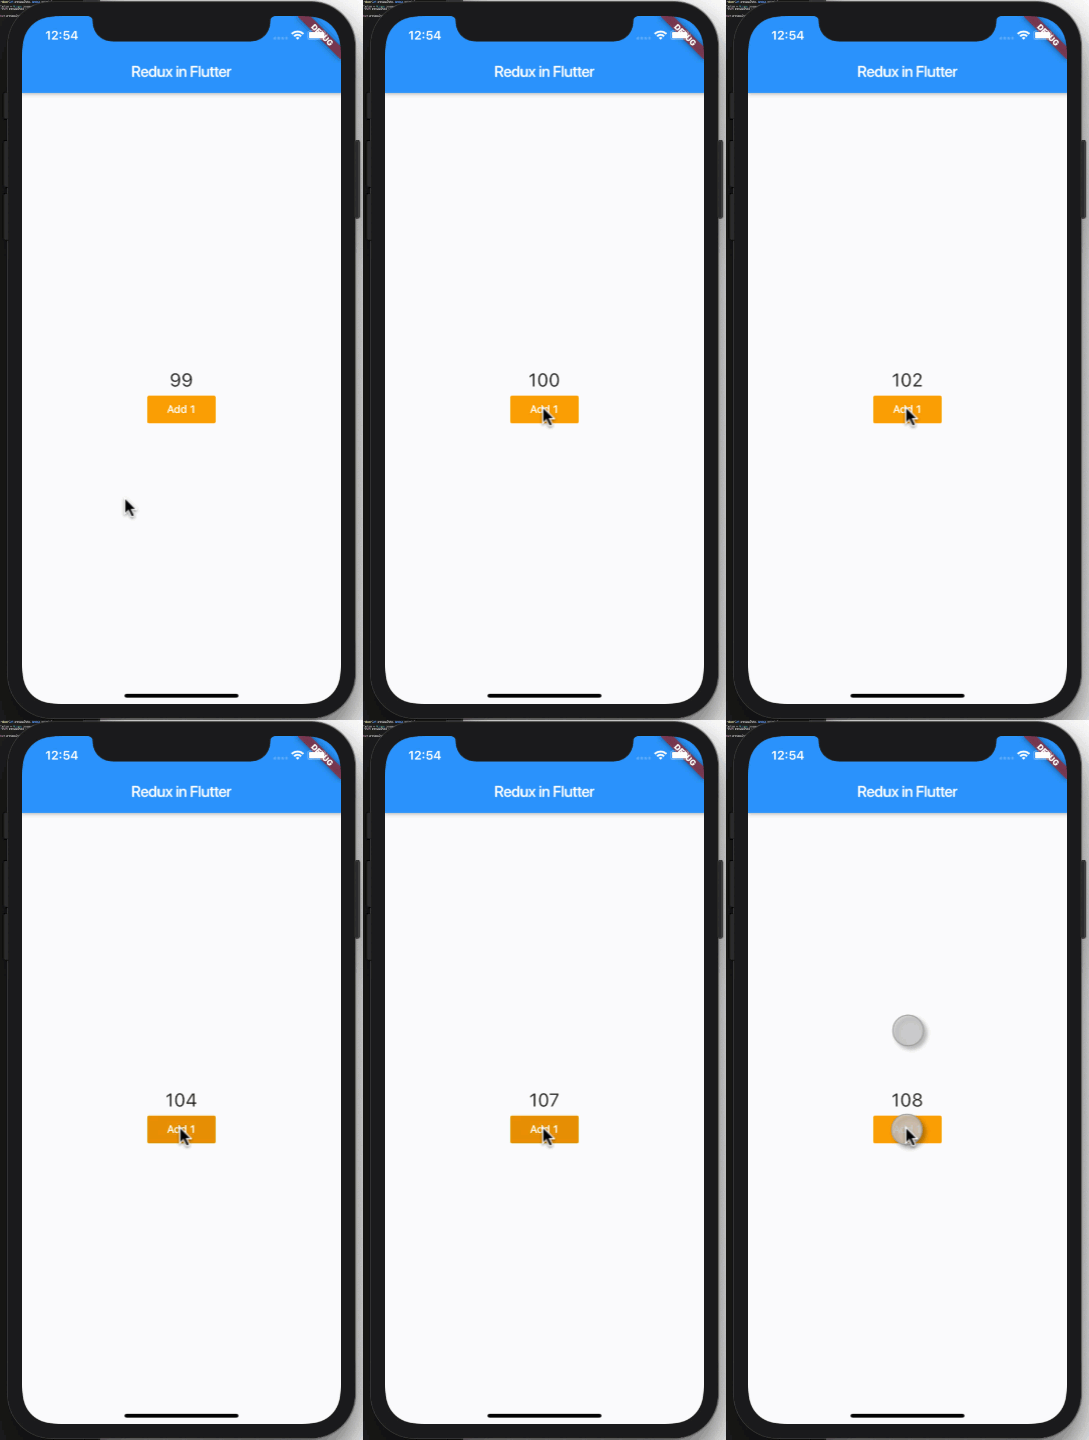
Let’s go ahead and run your application and you should see “99” displayed in the Text widget as shown below:
Awesome! This confirms that our Text widget is reading the values from the global state. Next, we need to find a way to update the counter value when the user presses the button. Let’s check it out in the next section.
Updating Global State
In the last section we were able to retrieve value from global state and display it on the user interface. In this section we are going to update the global state using our button widget.
In order to update the global state you will need to dispatch actions from your button. Once the action is dispatched, it reaches reducer which updates the state.
Reducer is the only one that can update the global state!
To dispatch actions we need to connect our store to the widgets. This is accomplished by using the StoreConnector function we used earlier. Check out the following implementation:
The converter function in StoreConnector returns a void callback function which triggers the dispatch operation on store object. This dispatch is going to send an increment action to the reducer which the reducer can use to update the state. The onPressed property of the FlatButton has been updated to call the callback. The value of the callback is the return value from the converter function which in our case will be store dispatch function.
The reducer updates the state when it receives actions. This is shown in the following implementation:
That’s it! Go ahead and run your application. When you press the button it will increment the global state through Redux.
This was a very basic introduction to Redux using a Flutter application. In my next post I will cover how you can add more data into your global state by storing objects instead of primitive types.
If you liked this article and want to support my work then check out my Udemy courses.
Mohammad Azam | Apple Featured iOS Developer and iOS Instructor| Udemy
References:
Happy coding!
Understanding Global State in Flutter Using Redux was originally published in Hacker Noon on Medium, where people are continuing the conversation by highlighting and responding to this story.
Disclaimer
The views and opinions expressed in this article are solely those of the authors and do not reflect the views of Bitcoin Insider. Every investment and trading move involves risk - this is especially true for cryptocurrencies given their volatility. We strongly advise our readers to conduct their own research when making a decision.


