Latest news about Bitcoin and all cryptocurrencies. Your daily crypto news habit.
 Photo by David Troeger on Unsplash
Does your team use GitHub as their main source version control? Mine does and because of that my email client is constantly populated with GitHub messages. A part of me dies every time I resume work after taking PTO knowing that I’ll be coming back to pages and pages of GitHub notifications. Also, if you happen to work in a distributed team or your team’s work is open source, then there is a high chance you wake up to a page or two of notifications…everyday. In this post I want to share with you two tips that helped me manage GitHub notifications.
Reduce the Noise
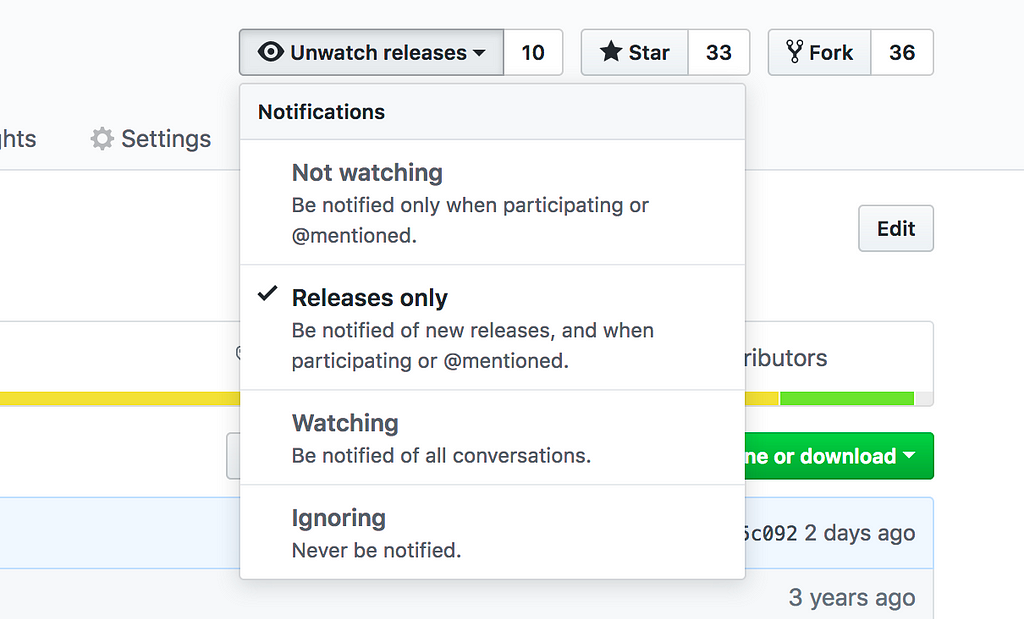
Make yourself a favor and head over to GitHub’s watching page to unsubscribe from any repository you don’t want to be alerted for each new pull requests and issues that are created. If you only care about when releases are published, then navigate to the main page of the repository and click “Releases only” from the drop-down menu.
Create Filters
One of the best ways I found that helps me manage GitHub notifications is to create filter rules that attach labels (tags) to emails. Labels are similar to folders except you can apply multiple labels to a single message. I would assume most email services would have support for tags but if yours doesn’t, then you’re probably overdue for a switch.
Identifying the notification reason
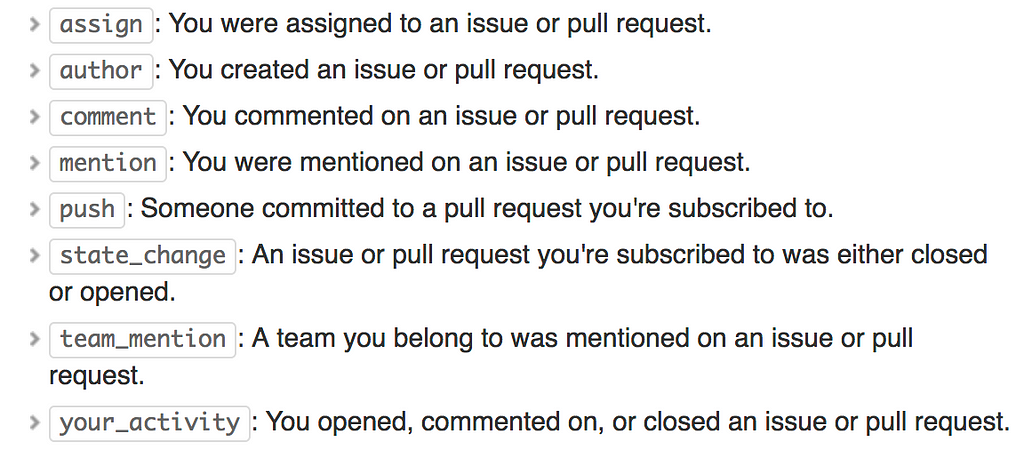
GitHub has done a really good job with their messages; they use email headers and the Cc email address to provide the notification reason. The From header will always be notifications@github.com and the second Cc email address will have the notification reason. The suffix for the notification reason will always be @noreply.github.com; the prefix, however, will contain the notification reason. The list of reasons are:
 https://help.github.com/articles/about-email-notifications/#filtering-email-notifications
Note: review_request seems to be missing from the list
Assigning labels to GitHub emails
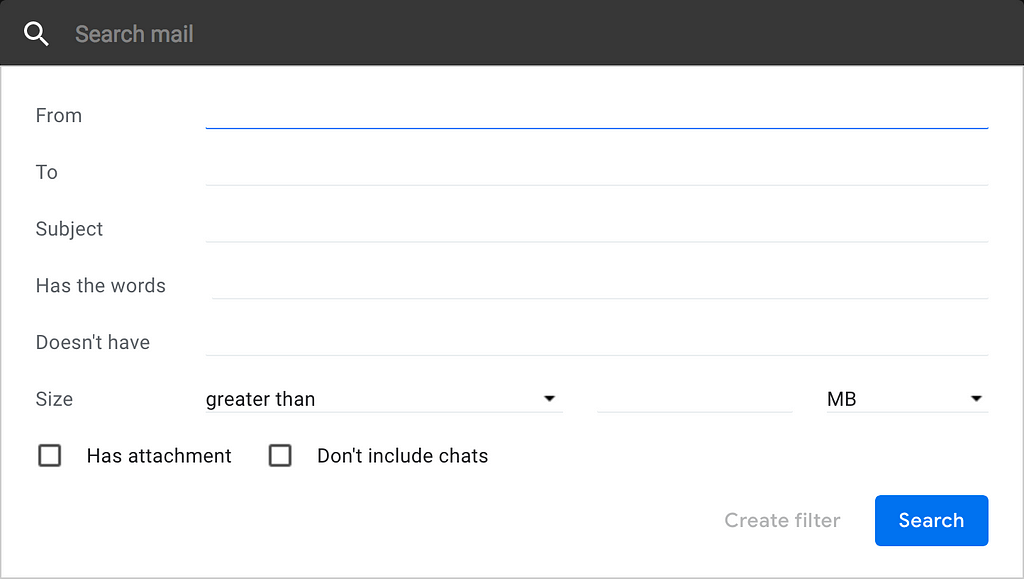
For the sake of this post, I will use the Gmail service. If you’ve never created filters before, head over to https://support.google.com/mail/answer/6579?hl=en for easy steps on how to create a filter.
The From and Has the words input fields are usually more than enough to filter GitHub emails accordingly. For the former, it will always be notifications@github.com. The following is what I consider the must-haves when labeling GitHub notifications (the below values correspond to the Has the words field).
Your review is requested
cc:review_requested@noreply.github.com AND “requested your review”
A team review is requested
cc:review_requested@noreply.github.com AND “requested review from”
You were mentioned on an issue/pull request
cc:mention@noreply.github.com
You were assigned to an issue/pull request
cc:assign@noreply.github.com
Note: AND , cc: and “ ”are search operators that can be used to generate improved filtered results. Feel free to check out the complete list of search operators.
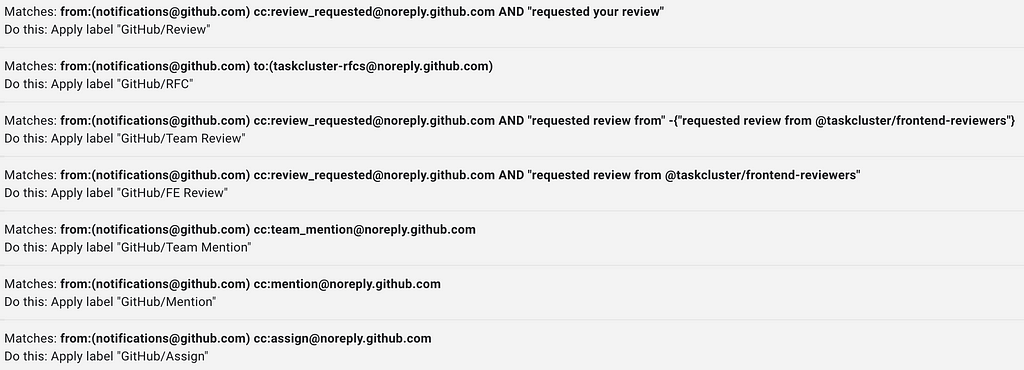
Here’s the full of list of my GitHub filters.
 My current list of GitHub filters
…and here’s how it shows up in the UI.
As a closing remark, reducing the noise and creating filters have helped me a lot. I actually only started using labels after realizing that I kept missing GitHub mentions, especially on pull requests I didn’t create nor was the reviewer. I hope you enjoyed this post. Feel free to share any other tips you may have.
How to Never Miss a GitHub Mention was originally published in Hacker Noon on Medium, where people are continuing the conversation by highlighting and responding to this story.
Disclaimer
The views and opinions expressed in this article are solely those of the authors and do not reflect the views of Bitcoin Insider. Every investment and trading move involves risk - this is especially true for cryptocurrencies given their volatility. We strongly advise our readers to conduct their own research when making a decision.


