Latest news about Bitcoin and all cryptocurrencies. Your daily crypto news habit.

Cryptocurrency hardware wallets have become a mainstay within the digital asset economy and over the years these devices have evolved. After designing the first bitcoin hardware wallet on the market, the Prague-based firm Satoshilabs has released a new Trezor product line called the Model T. The following hands-on review details how to get started with the Trezor T cryptocurrency wallet and outlines its primary features.
Also read: A Review of the Swiss-Made Digital Bitbox Hardware Wallet
Testing the Touchscreen Trezor Model T
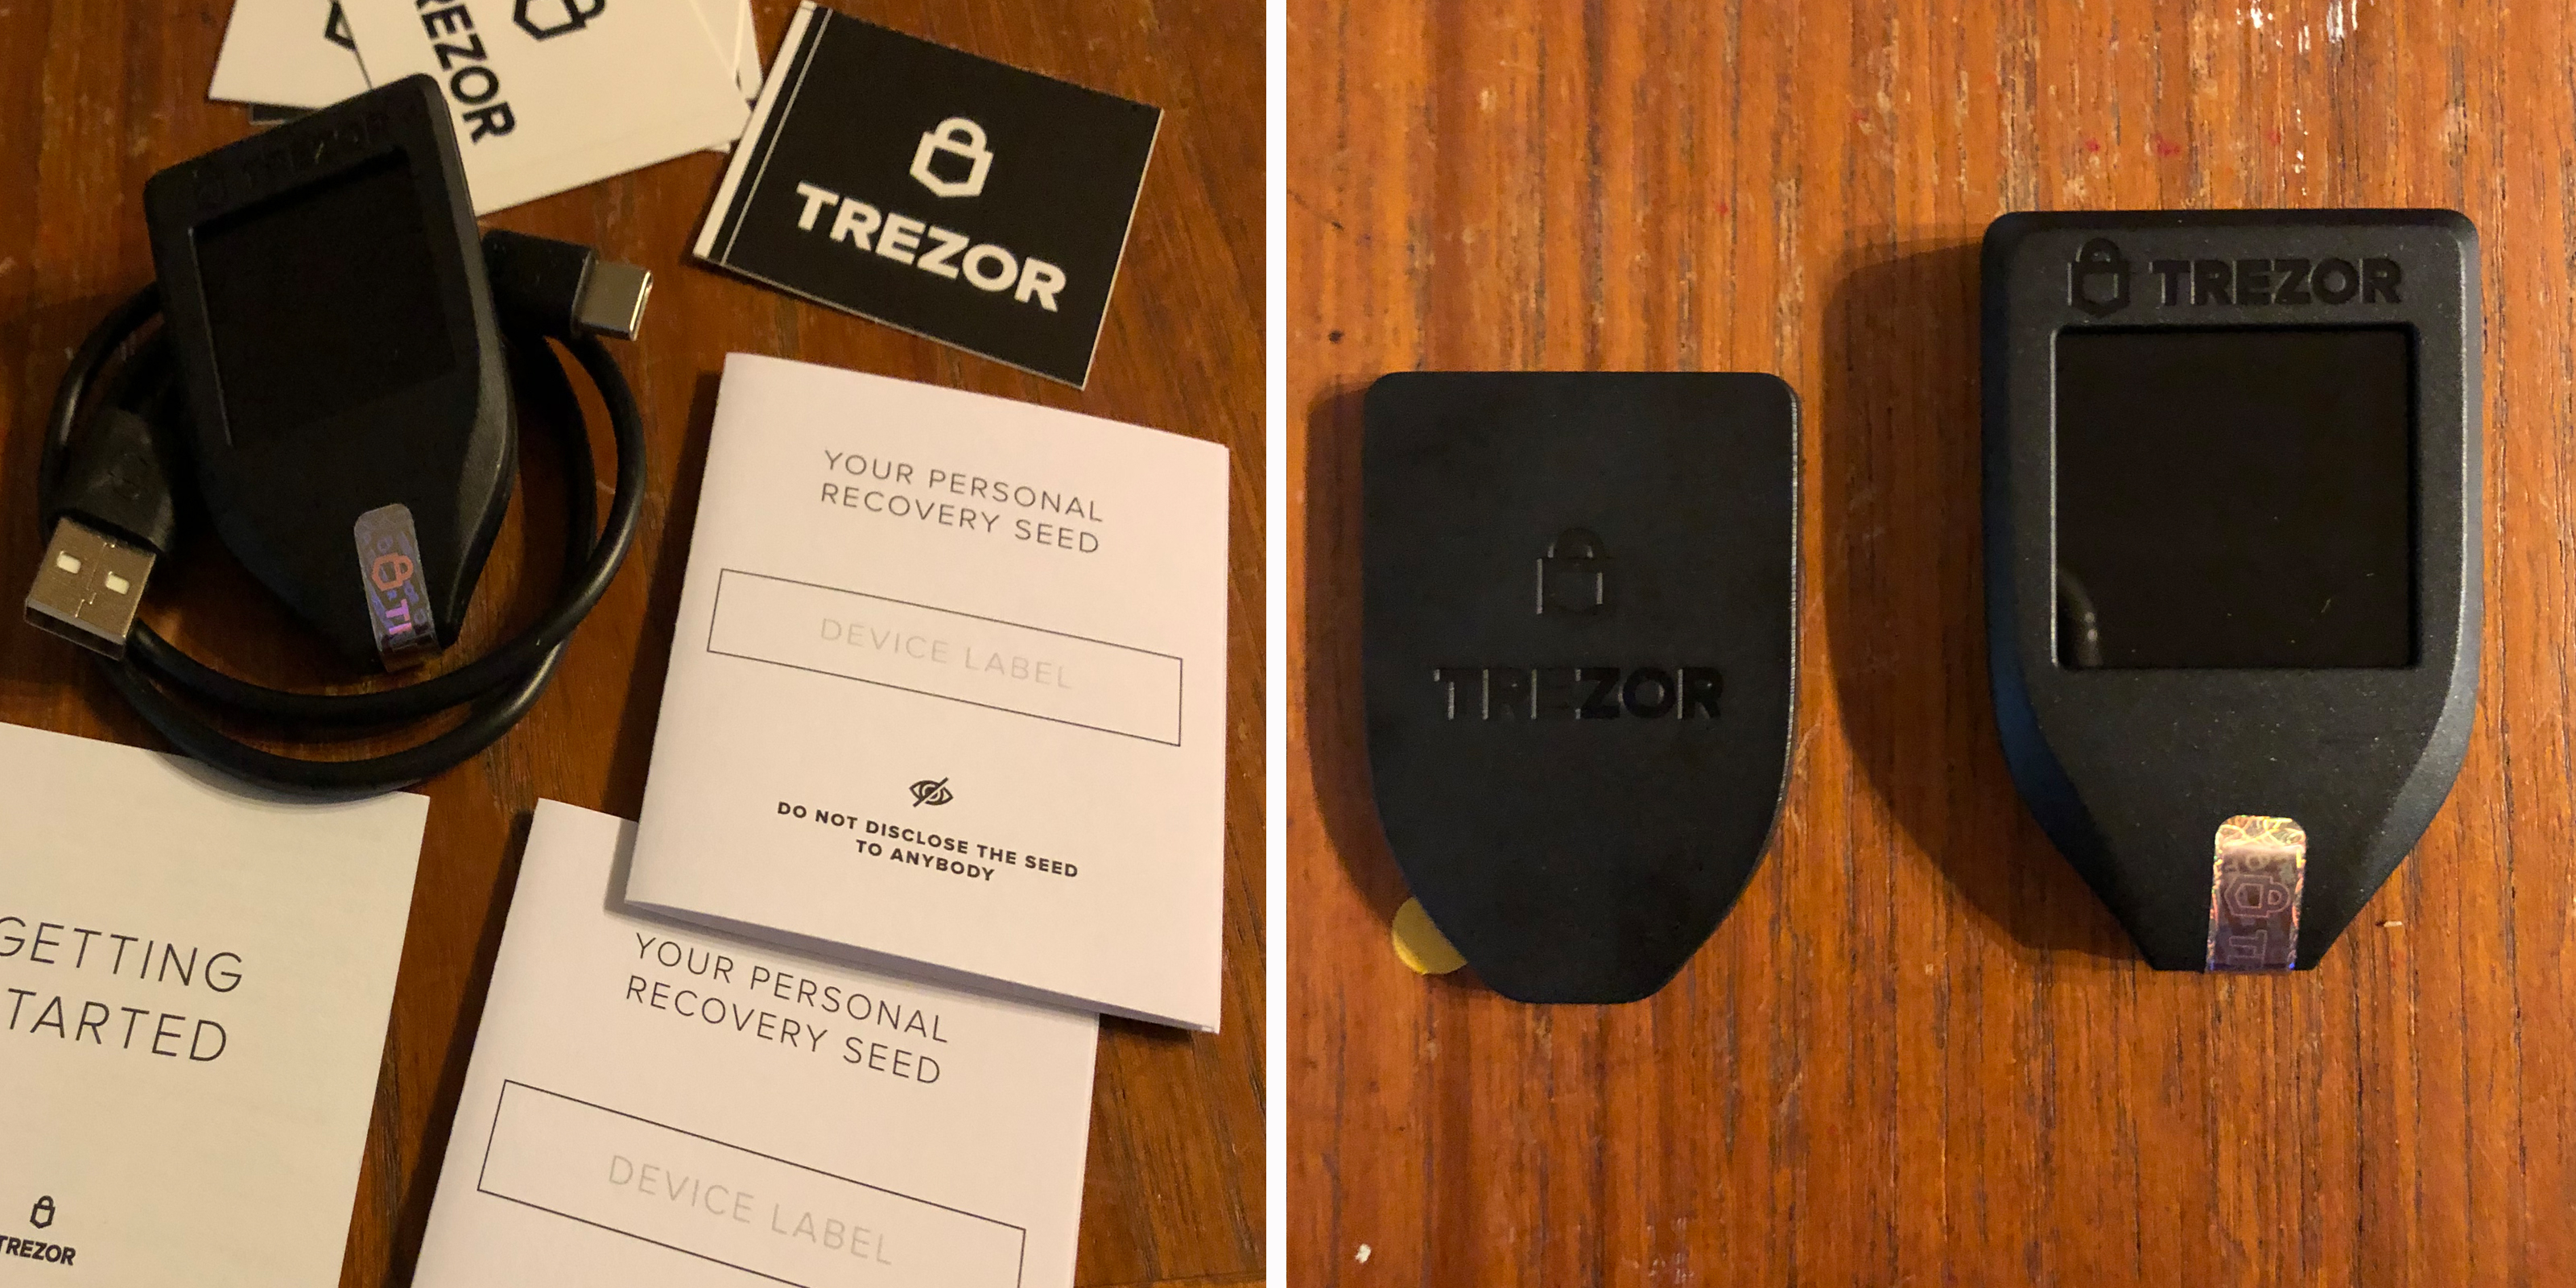
This week I received a Trezor Model T in the mail and decided to provide a rundown of how to set up the hardware wallet. In this review I also note the differences between the new version and the Trezor One. The box is very well packaged compared to the Trezor One I purchased years ago and comes with various accesories. Inside the box, there’s a Trezor T device, a USB-C cord, two recovery seed cards, a magnetic holder for the device, and a bunch of stickers. The machine itself features a RGB LCD touchscreen display and USB communications are enabled only after authentication. The directions inside the box explain that the owner needs to go to the Trezor website to initiate the wallet.
 Everything the Trezor Model T comes with and the magnetic wall mount.
One thing that is noticeable is the amount of pressure needed to insert the USB-C cable. At first, I had issues initiating the firmware because my computer couldn’t recognize the Trezor through the cable. All shipped Trezors come empty and never have firmware installed for security reasons. However, I learned from the folks at Satoshilabs that you need to push the connector in hard enough until you hear it click. After choosing the T version on the website, it takes you to the beta Trezor browser wallet to initiate the device firmware. The setup can be initialized using the main Trezor wallet instead if you don’t want to use the beta version. The T only took two minutes for the firmware to install and from here I was able to begin the wallet setup and backup process.
 Initiating the firmware, creating a new wallet, and backing up the seed.
Backing up the Seed, Adding a PIN and Naming the Wallet
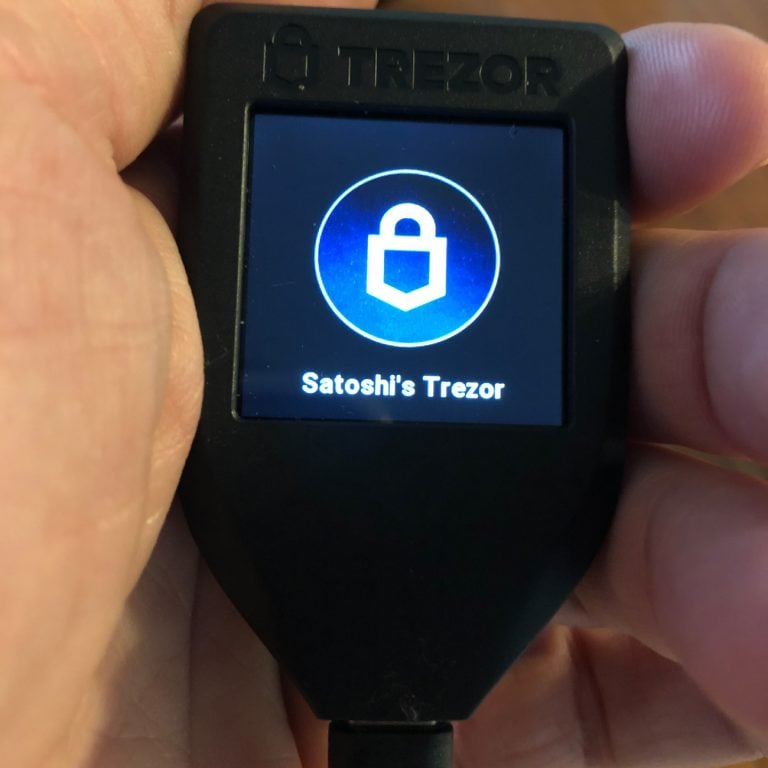
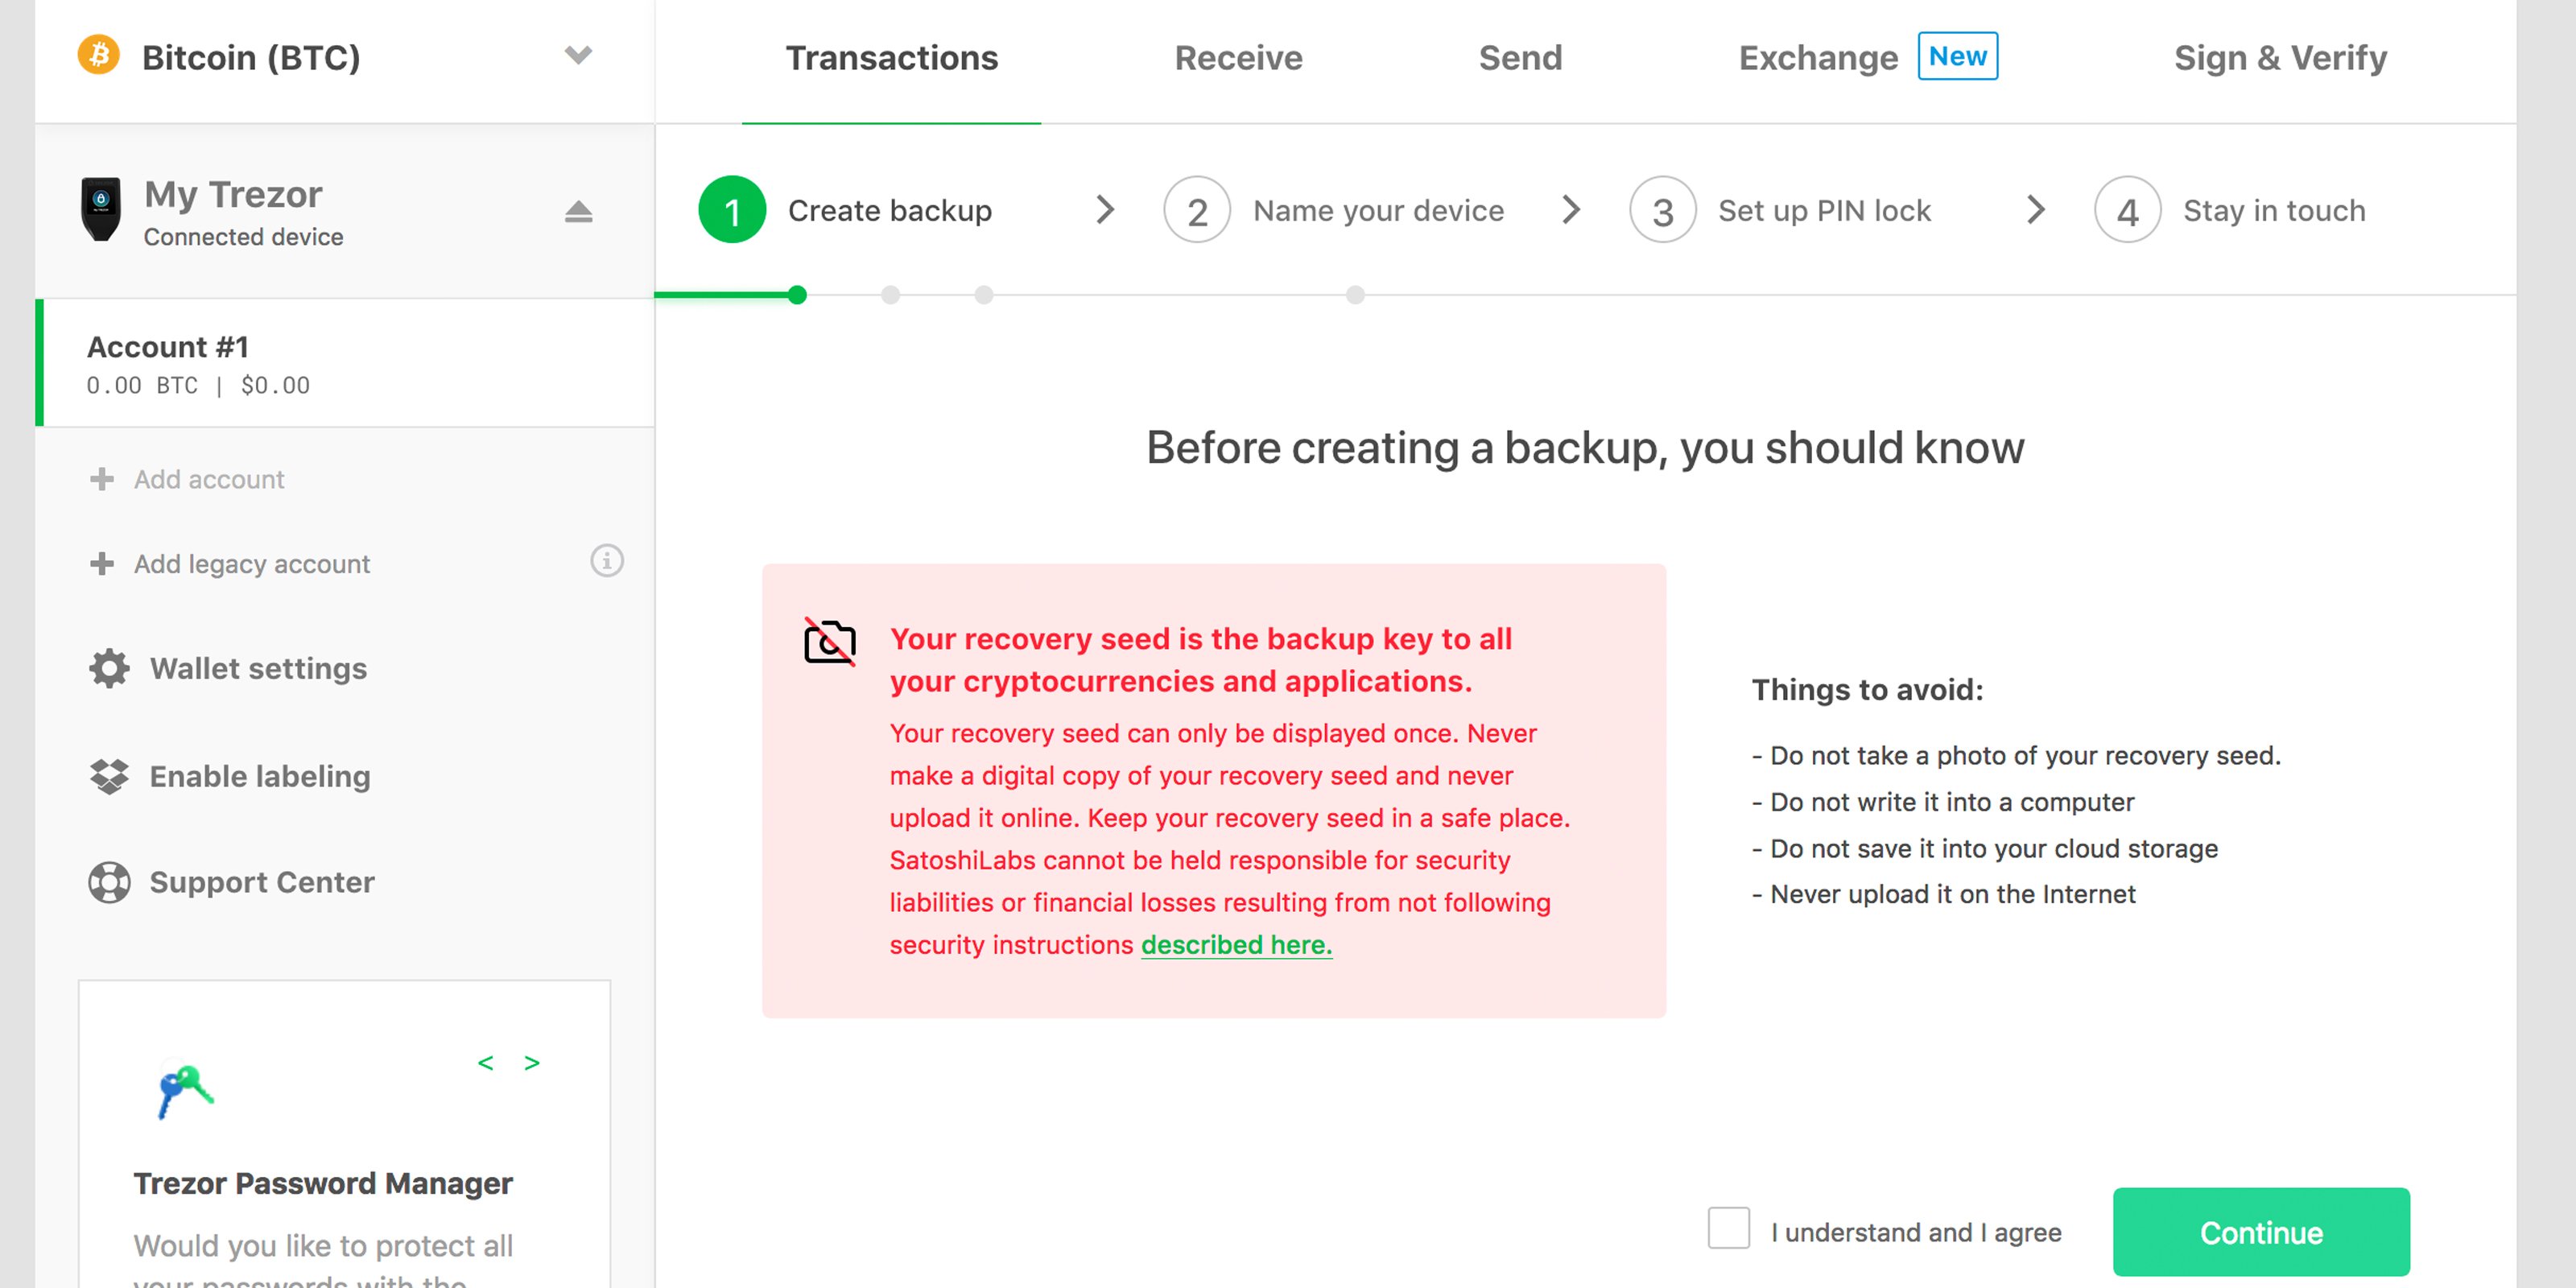
The device screen will warn the user that a backup has not been completed and the wallet browser will initiate the start of this process. From here, after the usual disclaimer about no screenshots and writing the seed down alone, the device screen will reveal a 12-word mnemonic seed phrase. After writing the words down on the seed card supplied in the box, I was prompted to confirm some of the words randomly in order to verify that the seed was written down correctly. Once the device confirms that the owner has written down the phrase, the setup moves on to adding a PIN to the device and a name. Each action needs to be confirmed using the device’s touchscreen. While pondering a name I decided to name my gadget ‘Satoshi’s Trezor’ because, after all, we are all Satoshi. Moving on, the browser wallet asks if you want to add an email and I opted to skip that step.
 Setting a PIN and naming the device.
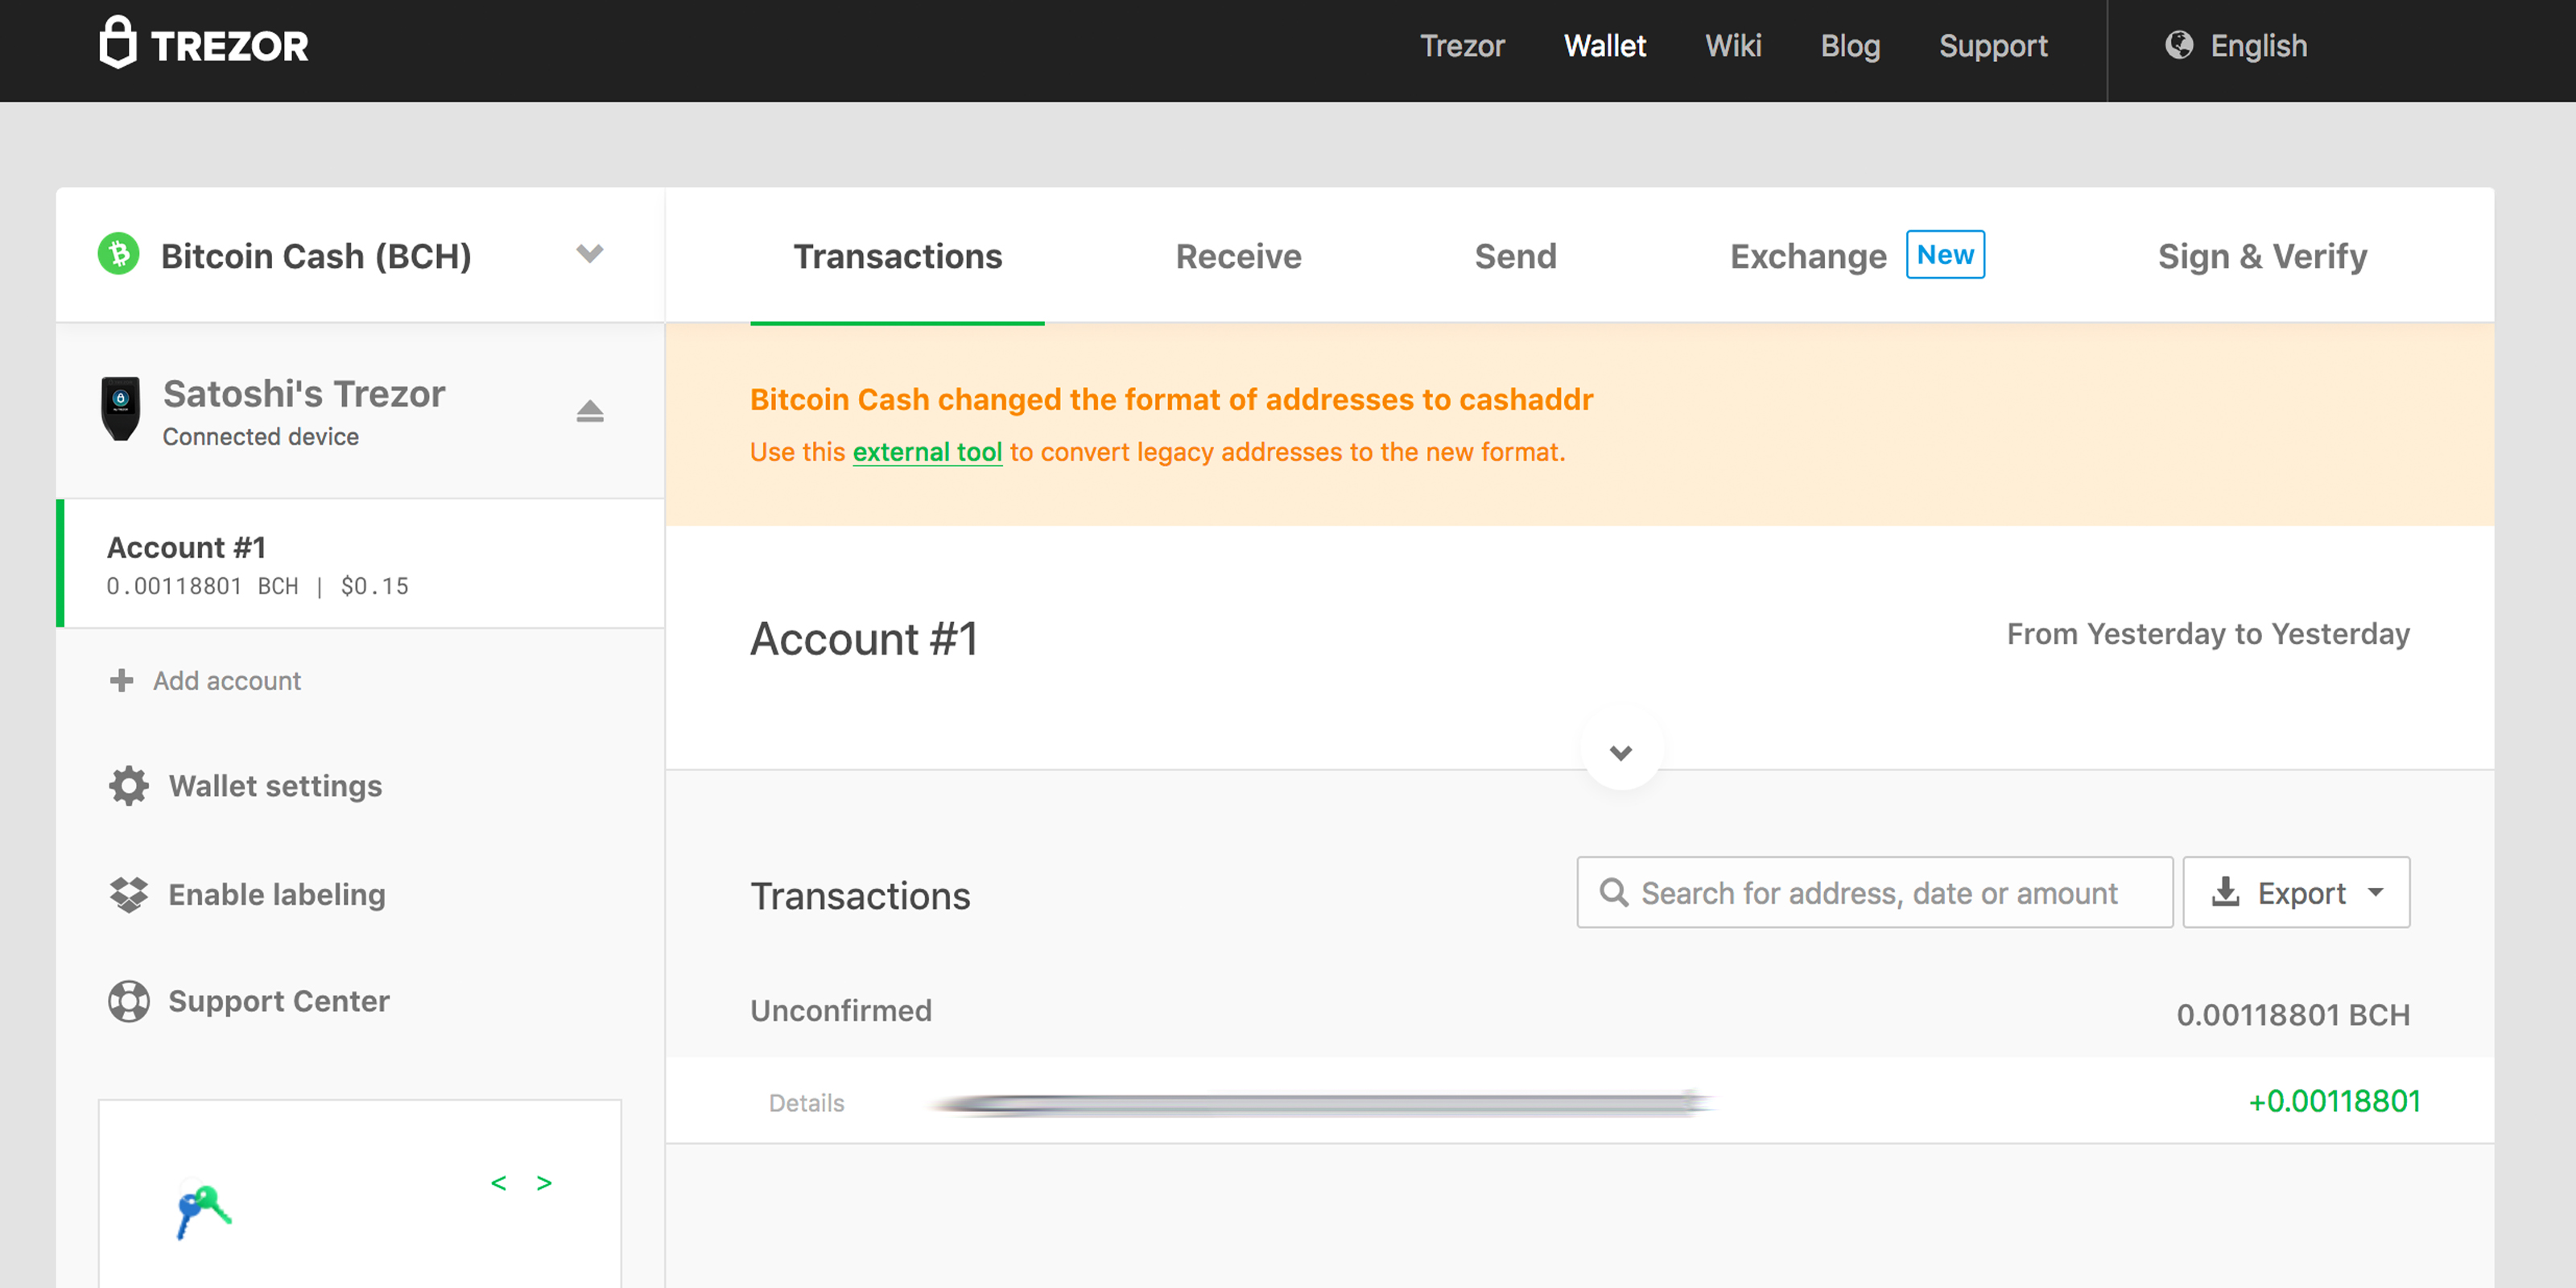
After the wallet was all set up, I sent a small fraction of bitcoin cash (BCH) to the wallet to make sure everything was working correctly. The Trezor T also supports BTC, BTG, DASH, DGB, DOGE, LTC, NMC, VTC, ZEC, ETH, ETC, XLM, XEM, and ADA. Some of the cryptocurrency wallets like ETH, ADA, and XLM take you to a third party wallet which essentially tethers the account to your device. Just like the Trezor One, the Model T can also act as a U2F device for online accounts like Dropbox and Gmail. Additionally, Satoshilabs has added an exchange feature which lets the hardware wallet interact with a third party trading platform so the user can swap coins without leaving the secure confines of the Trezor software.
 The Trezor dashboard and all the steps involved with creating a seed backup.
A Model One Evolved
Overall, the Model T worked well but it took me some time getting used to the USB-C cord insertion, even though I use USB-C hardware regularly. The Keepkey cryptocurrency hardware wallet I recently reviewed also has a noticeably tougher USB insert. After getting used to the plug, it became much easier, but you may want to use a longer cord. The LCD touchscreen display is nice but was not so friendly with my fat fingers. The touchscreen takes some time to get used to as well and the screen is used for the wallet’s PIN entry, instead of the onscreen randomizer PIN pad used with the Trezor One.
 Sending 15 cents’ worth of bitcoin cash (BCH) to test the wallet.
The device works just as well as my first Trezor wallet, but users will find subtle differences between each one. For example, the Model T comes with a micro-SD slot for advanced features that will be added to the operating system at a later date. Even with the T’s touchscreen, prospective buyers may still decide to purchase version One because it’s significantly cheaper than the Model T and just as secure. The T version is roughly $169, but that doesn’t include DHL shipping costs. One thing for certain is that I will continue to use the Model T hardware wallet, unlike some of the devices by other manufacturers I’ve previously reviewed that are now collecting dust.
What do you think about the Trezor Model T? Let us know what you think about this hardware wallet in the comments section below.
Disclaimer: This editorial should be considered Review or Op-ed material. The opinions expressed in this article are the author’s own. Bitcoin.com does not endorse nor support views, opinions or conclusions drawn in this post. Bitcoin.com is not responsible for or liable for any content, accuracy or quality within the review article. Review editorials are intended for informational purposes only. There are multiple security risks and methods that are ultimately made by the decisions of the user. There are various steps mentioned in reviews and guides and some of them are considered optional. Neither Bitcoin.com nor the author is responsible for any losses, mistakes, skipped steps or security measures not taken, as the ultimate decision-making process to do any of these things is solely the reader’s responsibility. For good measure always cross-reference guides with other walkthroughs found online.
Image credits: Jamie Redman, Trezor, and Satoshilabs.
Have you seen our new widget service? It allows anyone to embed informative Bitcoin.com widgets on their website. They’re pretty cool, and you can customize by size and color. The widgets include price-only, price and graph, price and news, and forum threads. There’s also a widget dedicated to our mining pool, displaying our hash power.
Disclaimer
The views and opinions expressed in this article are solely those of the authors and do not reflect the views of Bitcoin Insider. Every investment and trading move involves risk - this is especially true for cryptocurrencies given their volatility. We strongly advise our readers to conduct their own research when making a decision.