Latest news about Bitcoin and all cryptocurrencies. Your daily crypto news habit.
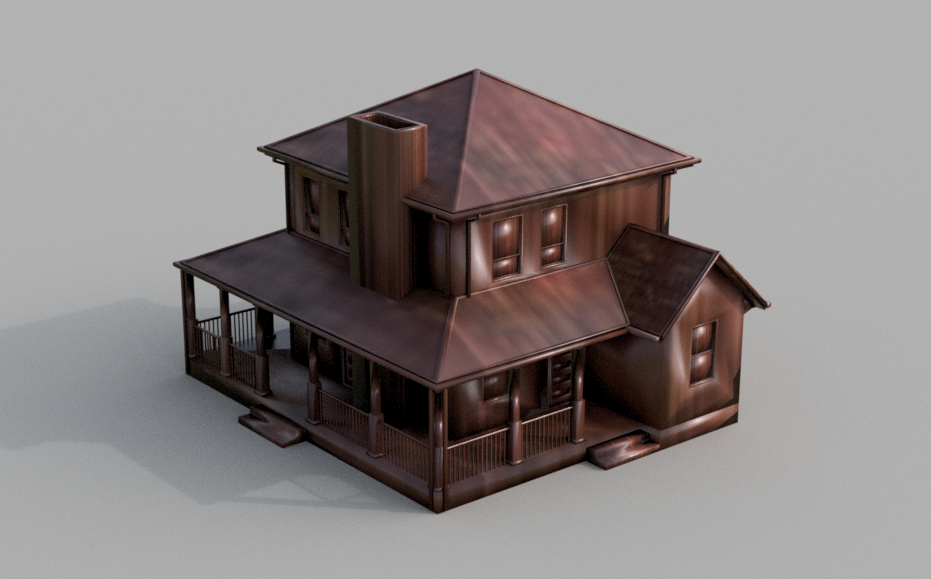
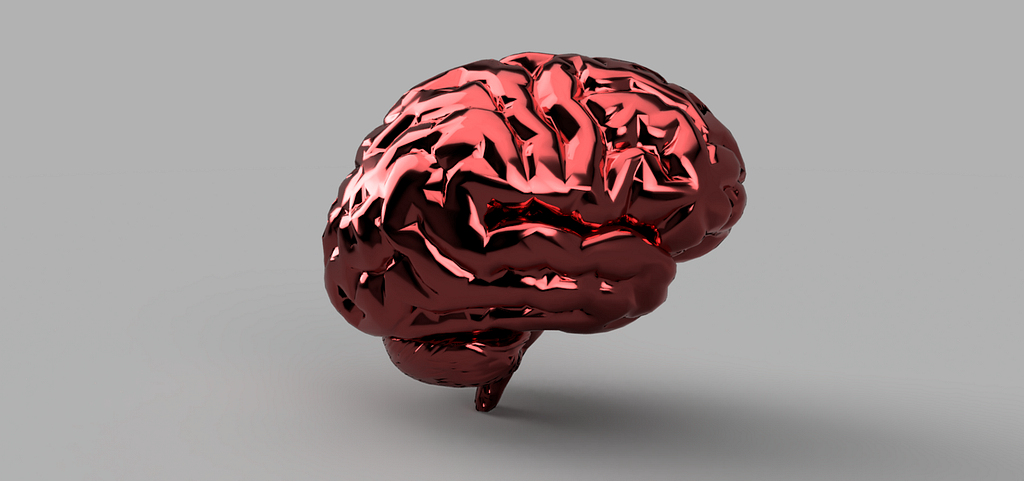
Finding the perfect graphic to match your written ideas can oftentimes be a challenging task. Stock images just seem, well, like stock images, and trying to create your own stock images is a time-consuming process. Instead, you can create beautiful 3D graphics like the one above in next to no time!
To accomplish this we’ll be using Autodesk Fusion 360. Fusion is at its core a CAD/CAM program, but it also incorporates a powerful and easy-to-use render engine for visualizing designs. We will leverage this to create our graphics. You can start by downloading Fusion. If you’re a student or educator of any kind you can use the software completely free of charge. If you’re not, you can download the generous trial version.
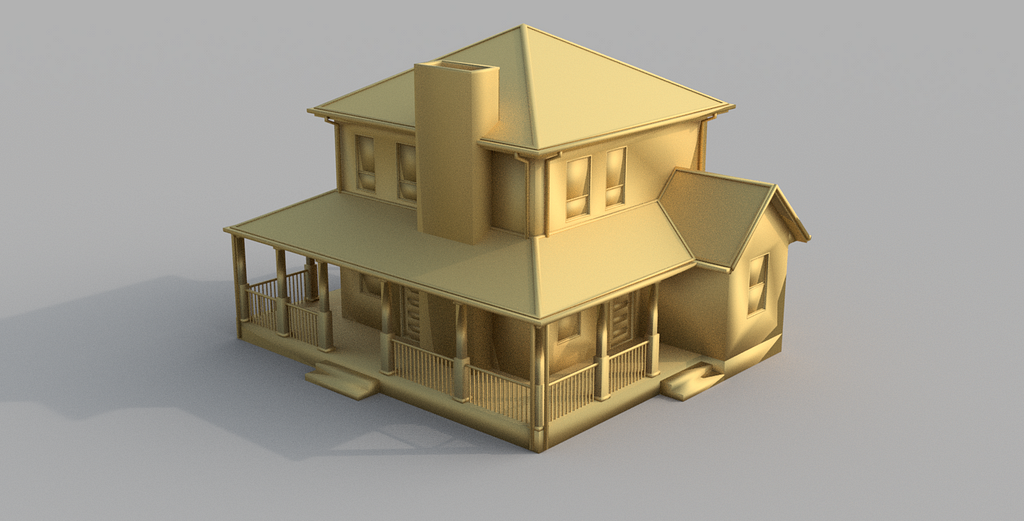
Next you’ll need to locate a 3D model which will be the subject of your image. As an example let’s use the house model in the first image. Any 3D model in a .obj format will do, but make sure you have the proper rights to use and distribute it. Download that folder, and unzip the “247_House 15_obj.zip” file inside the folder.
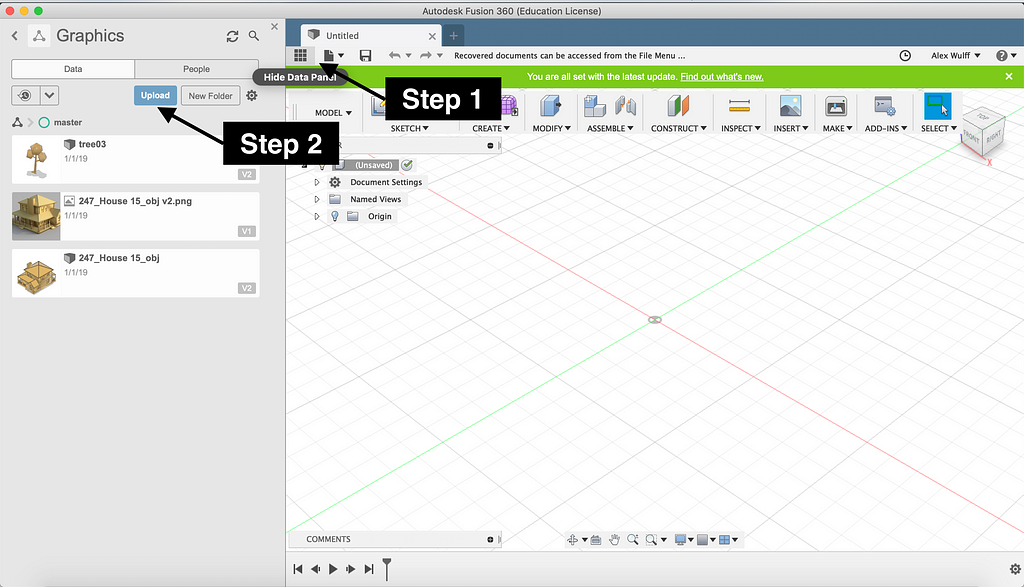
Now, start Fusion and select the icon with nine squares in the top left to reveal the data panel. In the data panel, select upload. Navigate to the .obj file you jut unzipped and upload it.
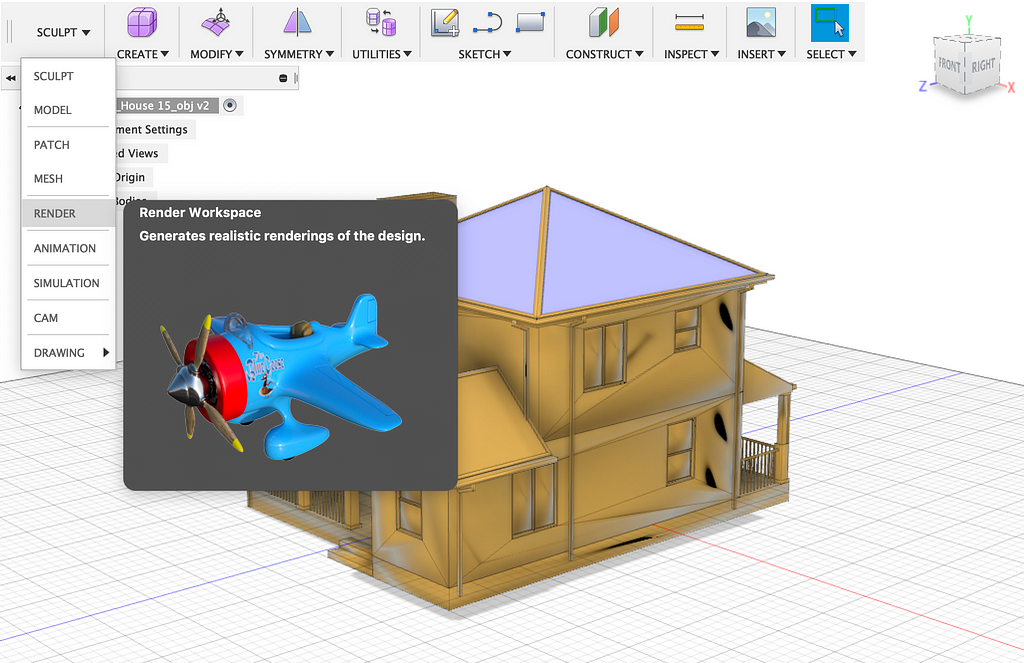
The file should now be in the data panel, as something like “247_House_15_obj.” Double click it to start editing the file. You will initially be in the sculpt view, so using the dropdown in the top left change the view to render.
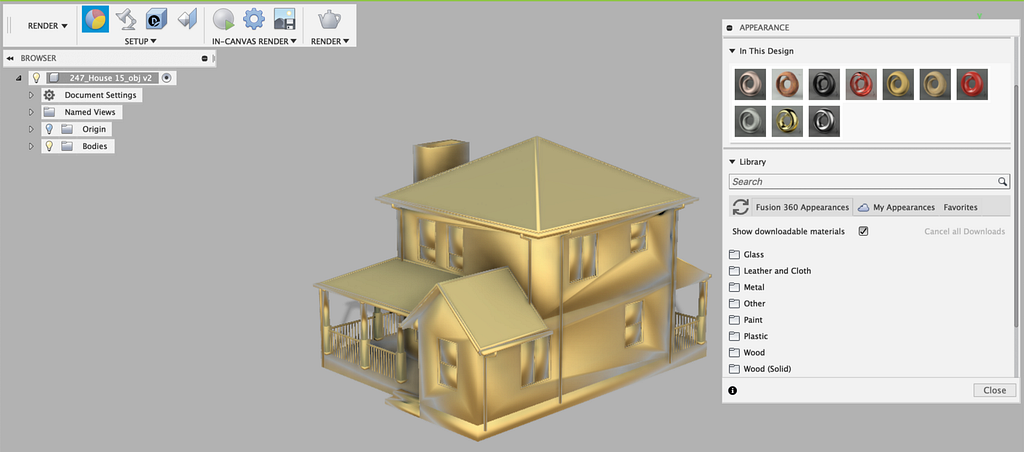
The first thing you’ll likely want to change is the material. Fusion comes with plenty of beautiful materials to choose from; to change the material of your model first open the appearance pane by selecting the tri-colored orb icon in the top left.
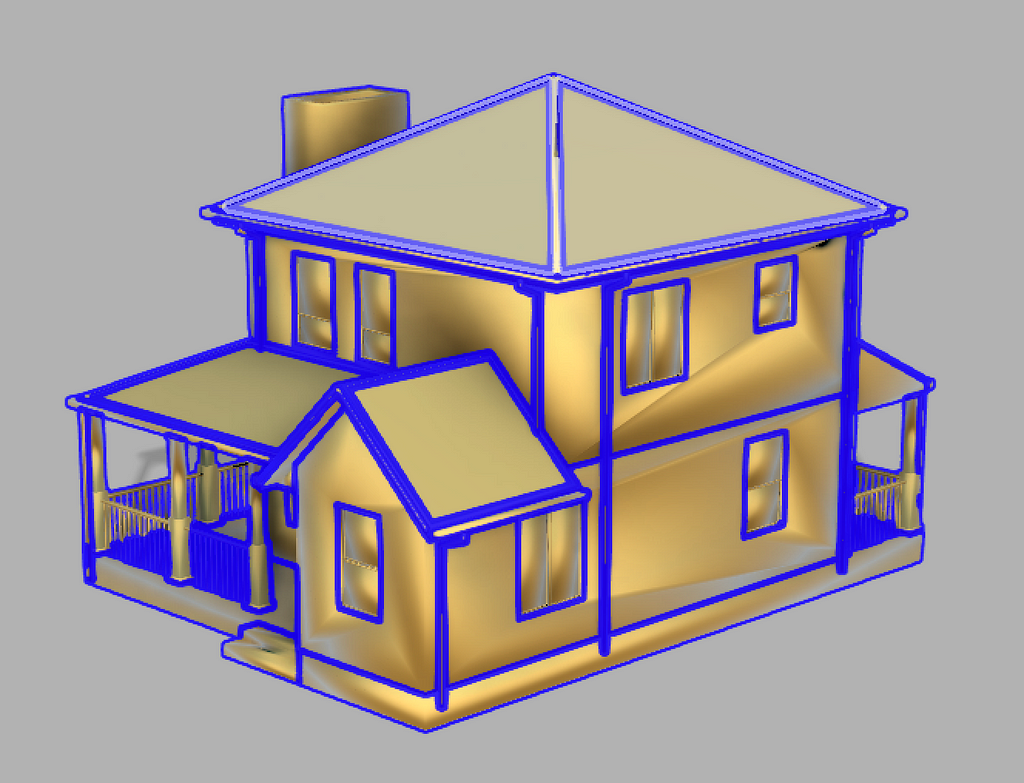
This article shows you the whole procedure for materials, but essentially you just drag and drop them from the pane into your model. To apply one material to a model with many parts you can select the entire model by clicking and dragging somewhere in the gray area to create a rectangle that encompasses the entire model.
Wood textures give your model a nice rustic look:
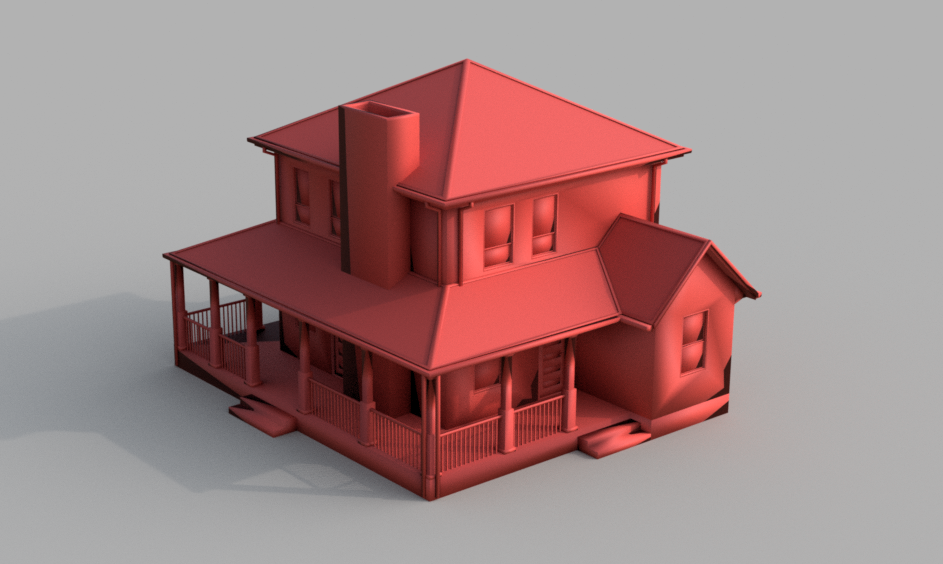
This is how plastic appears:
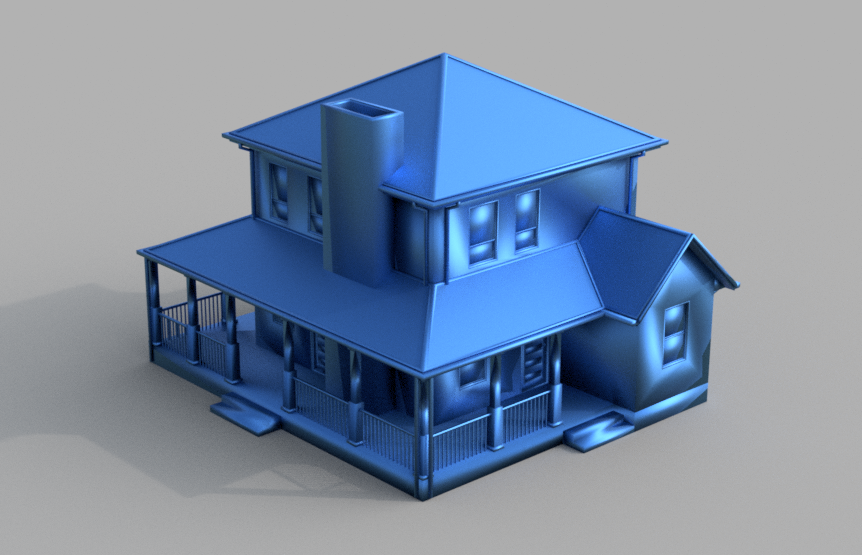
And finally metal:
Now I’ll show you how I can go about actually rendering your models. You will see a preview of what your model will look like in the editor, but the lighting and texture quality is quite poor. To get a first-pass at a render, select the in-canvas render icon.
You will be able to watch Fusion render your model before your eyes! To save the current view, just press the capture image icon two buttons over. You can also tell Fusion to render your model in the background by pressing the render icon (the one that looks like a teapot). Education users will be able to send the job off to Autodesk’s servers to get it rendered in the cloud for free, whereas anyone can render it using his/her machine’s hardware. The render engine appears to be CPU-based given its CPU usage, so fancy graphics hardware won’t make a difference here.
You can play around with different materials, lighting, backgrounds, and angles to see what works best for your image. If you put just a little bit of time into the process you can create amazing results that really enhance your work:
That’s all! If you enjoyed this article please check out more of my writing and my website. Let me know what you think by responding below.
How to Create Beautiful 3D Graphics for Your Stories was originally published in Hacker Noon on Medium, where people are continuing the conversation by highlighting and responding to this story.
Disclaimer
The views and opinions expressed in this article are solely those of the authors and do not reflect the views of Bitcoin Insider. Every investment and trading move involves risk - this is especially true for cryptocurrencies given their volatility. We strongly advise our readers to conduct their own research when making a decision.
