Latest news about Bitcoin and all cryptocurrencies. Your daily crypto news habit.
When I worked in publishing, I used to do a lot of picture research. I’d love to go deep into a topic and uncover amazing, little-known, pictures that captured a special time and place.
On these trawls through the internet, however, I would frequently come across websites that did everything in their power to stop you downloading images.
Museum websites are particularly annoying about this as the images are usually public domain anyway.
Half the time the same institution is running some sort of open access program, but hasn’t gotten round to making everything available yet.
When I came across situations where I knew the hi-res existed, I was pretty determined to get them. I enjoy taking things apart and tinkering with them.
Here’s how you do it.
DisclaimerRespect copyright. Downloading public domain images for inspiration/personal use is one thing. Ripping off content creators is a different thing.These ‘hacks’ might not work forever. Sysadmins do eventually fix things. Maybe they’ll read this article. (If so, email me…). If these methods stop working, you may or may not be able to figure out a workaround.I’m giving you a net, not a fish. The techniques are not exhaustive, but if you play around with them, you should have the tools to experiment on different sites.
So, for educational purposes only, here is how you hack into…
The Library of Congress
Probably the biggest and best collection of historic images on the internet. An incredible collection of tremendous importance.
A large number of their scans are downloadable in the form of gorgeous, enormous, tifs. Thank you LOC — this is how you do it! You put other institutions to shame! Some are not. But they’re often still out there, hidden on the server.
Let’s look at an example.
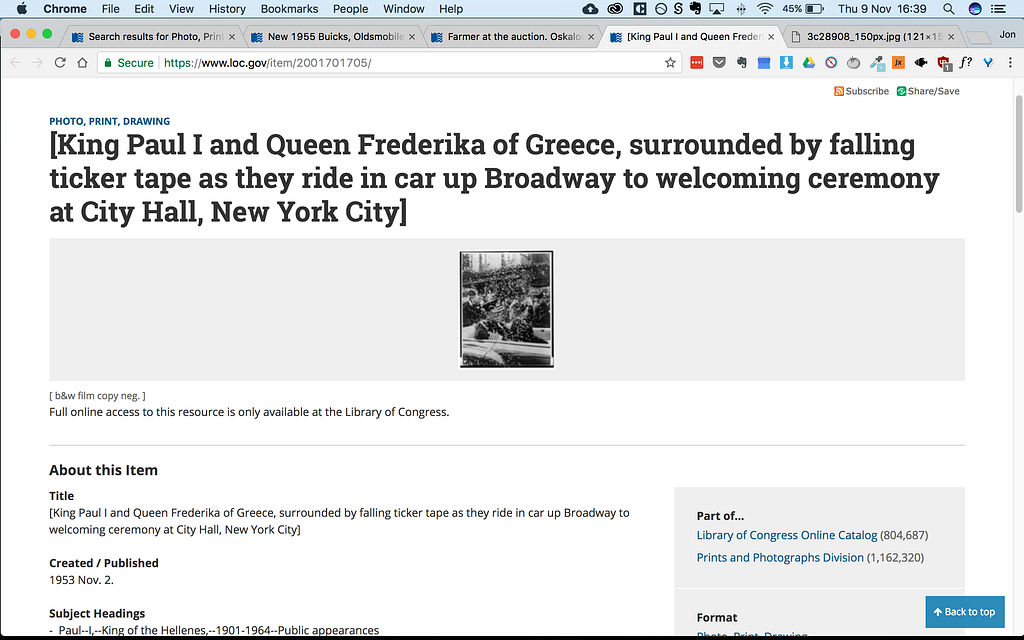
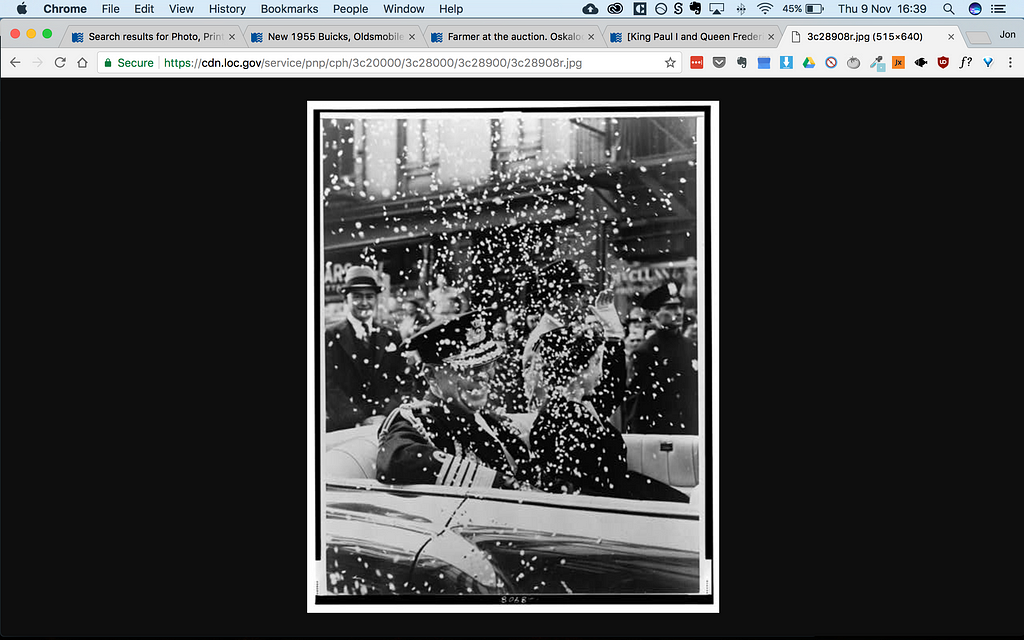
 Unlike many of their records this example has no download options. Open the thumbnail in a new tab and you get disappointment.
The LOC file system is pretty easy to crack. There appear to be 3 main sizes of jpeg and 2 main sizes of tif.
The jpeg filenames end with either _150px, r or v. An example: filenamer.jpg.
The tifs end with u or a.
In the example above, lets see what happens when we replace the thumbnail _150px with an r.
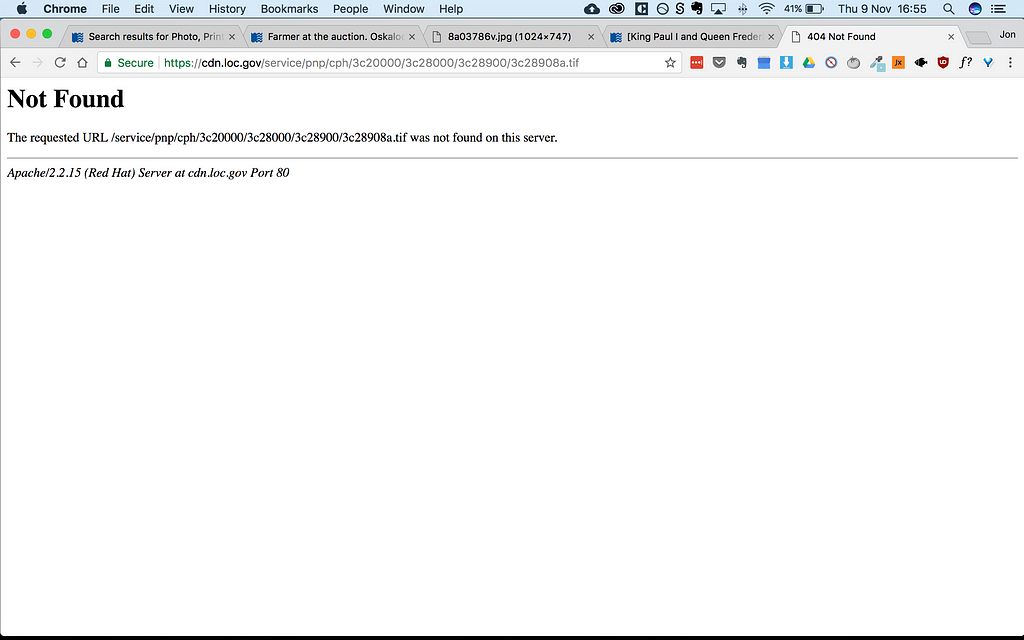
Larger image. Just like that. Try it again with a v and you’ll get an even better image. Try it with u.tif or a.tif, and you’ll get…
The fix is easy. If you find an image that you can download as a tif, you’ll see from the download address that the tifs are located in a ‘master’ folder instead of the ‘service’ folder. Change ‘service’ to ‘master’ in that section of the url and you’re good to go.
If you’re in luck, a hi-res tif will start downloading. Some of the images only seem to be digitised up to the u level, but they should still be big enough for most purposes.
Happy downloading.
University of Las Vegas
This one’s a bit trickier, but still pretty doable.
There are actually a few ways of getting in but I’ll show you the easiest.
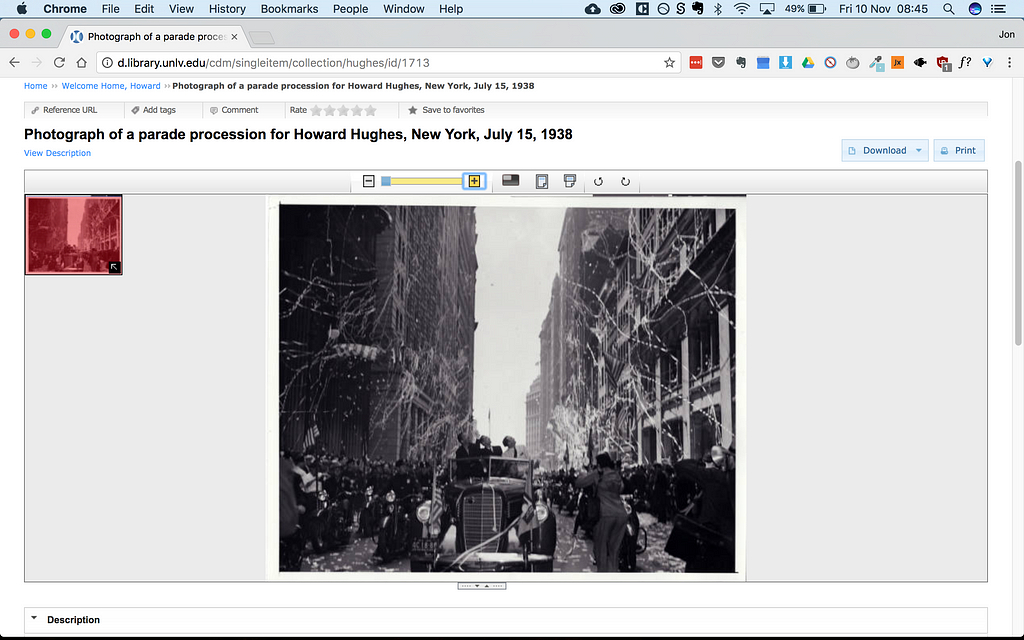
Here’s a photo of Howard Hughes on parade.
It can be downloaded via the download button, but we’re going to ignore it for now and download it the hacker way. That way, you can use the technique with files that don’t have a download button.
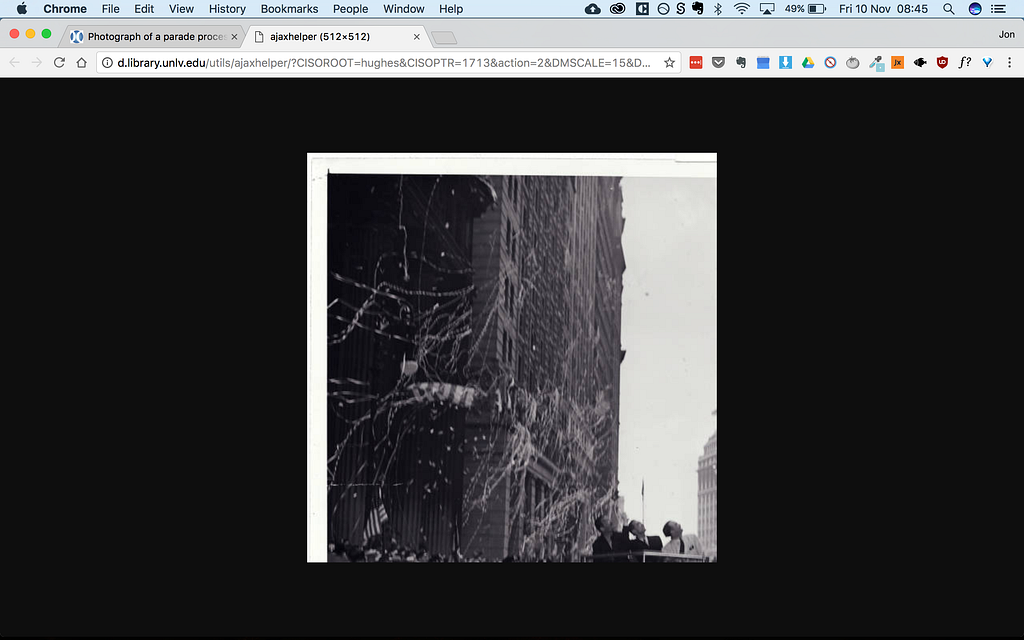
Open the image in a new tab and you’ll see the website spits out a small section of the image, which is pretty useless.
Look in the url though and there’s some useful info:
http://d.library.unlv.edu/utils/ajaxhelper/?CISOROOT=hughes&CISOPTR=1713&action=2&DMSCALE=15&DMWIDTH=512&DMHEIGHT=512&DMX=0&DMY=0&DMTEXT=&DMROTATE=0
The important bits here are in bold: dmscale, dmwidth, dmheight. Change the scale to 100 and change the width and height to the values listed on the record page (in this case 6016 x 4948), hit return and you’ll get a lovely big jpeg to download.
If you can’t find the dimensions, change scale to 100, put the dimensions to something big (5000+) and see if the image is cropped. If it is, increase the dimensions by an appropriate amount until it contains the whole image.
Many archives use a system similar to this. Once you know how, it’s amazingly easy to get past it.
BNF
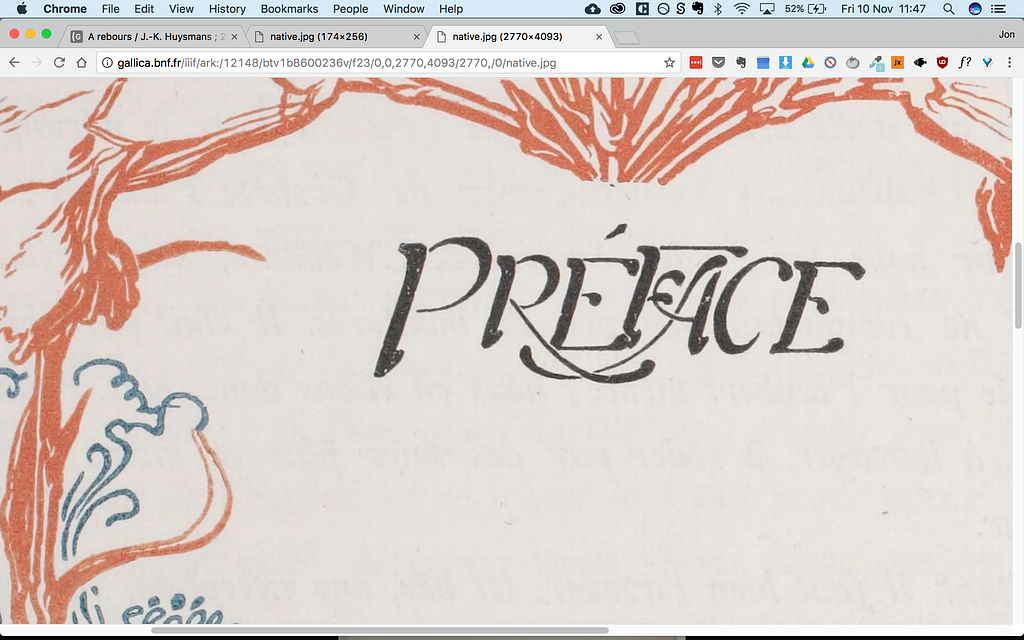
France’s national library is another treasure-trove of images. They have digitised some beautiful volumes, but they make it fairly hard to download the hi-res. Fortunately, we can use Chrome’s developer tools to peek under the hood and then use the same principles as above to get full-size jpegs.
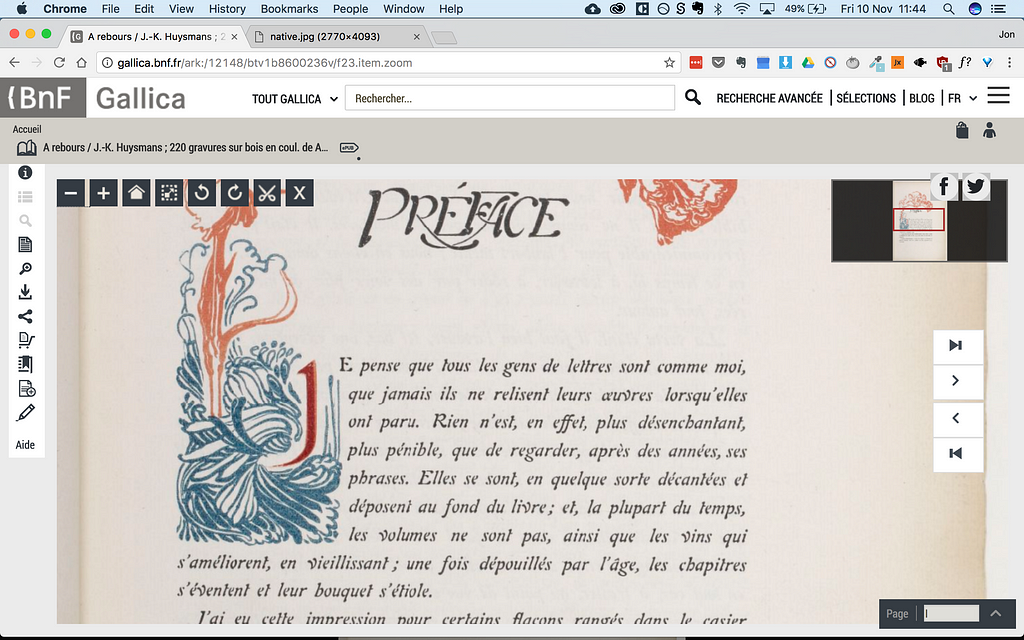
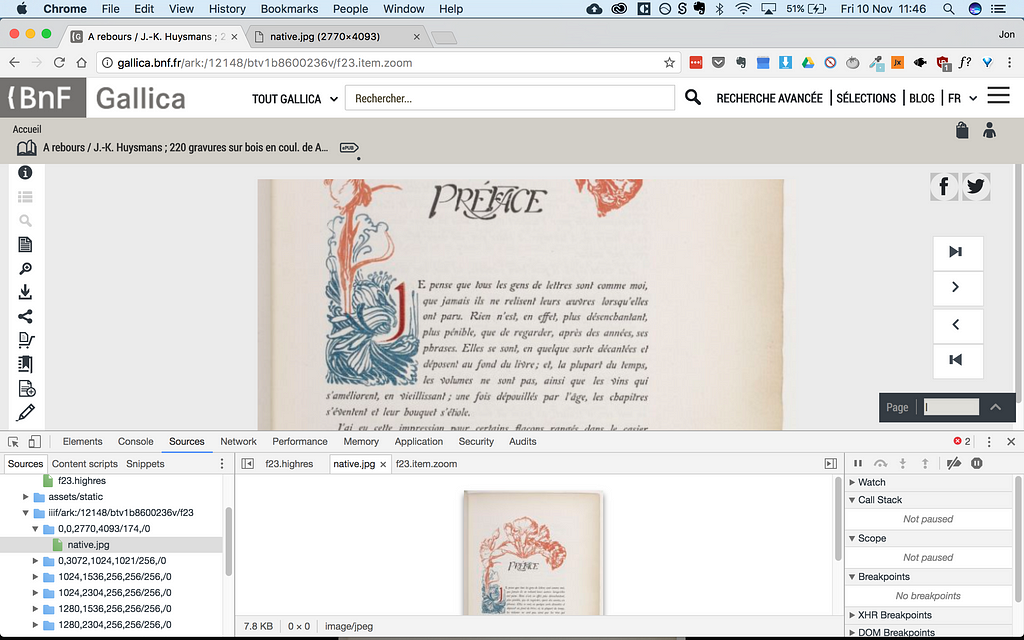 Find an image and open the console in Chrome.
Find an item and flick through the pages. Once you find an image you love, right click and Inspect. Click Sources at the top of the Inspector and you’ll see a folder that reads something like:
http://gallica.bnf.fr/iiif/ark:/12148/btv1b8600236v/f24/0,0,2770,4093/174,/0
This refers to (in order left to right) the volume, folio, section coordinates, width, height, resolution, rotation.
Open the top folder, which should contain a lo-res of the full image.
The first two numbers after the folio number will be 0, and the second two numbers will give you the true dimensions.
Right click the preview image in inspector and open in a new tab.
In order to generate a full image, click in the url and change the values after the f23/ to full/full/0/native.jpg.
You could also set or keep the first two values at 0, change the second two to the full dimensions (e.g. 2770, 4093) and change the number after the slash to the full width (in this case 2770).
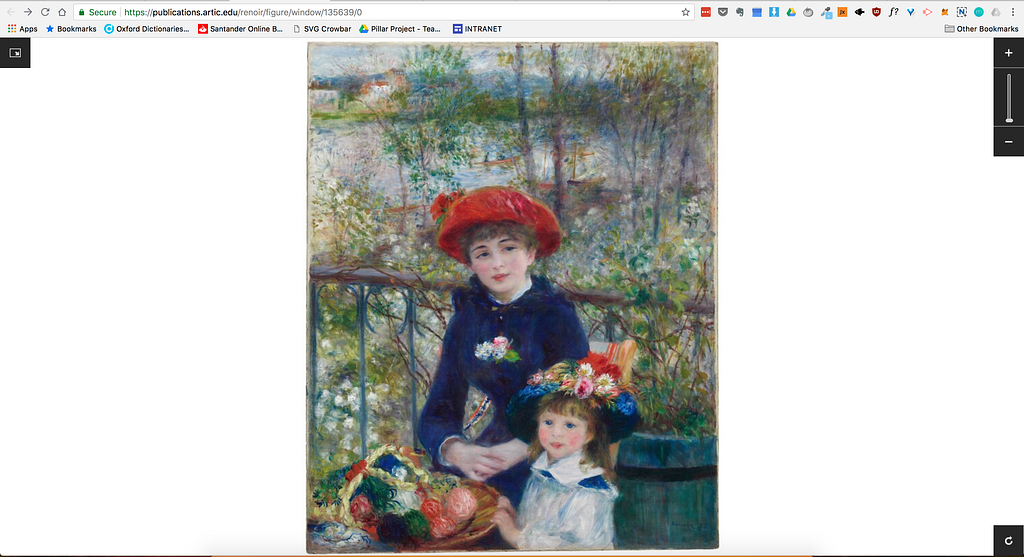
University of Chicago
The protocol is similar to the above.
Find a zoomable image.
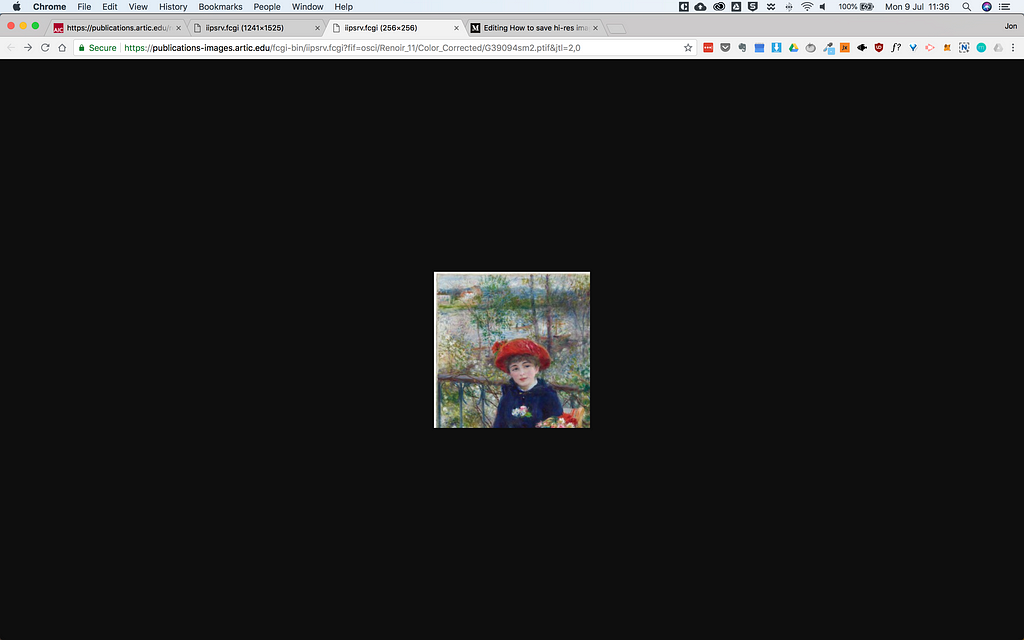
Inspect the image and open one of the tiles in a new tab.
Replace the last command, &jtl=x,x, with &cvt=jpeg
This should give you a fairly large version of the whole image. You can also set the width of the full image by adding the command &wid=x.
It should be possible to define wid=full but, annoyingly, the server appears to have a max limit, and this doesn’t produce a bigger file.
By looking at the source code more closely, we can find out the exact size of the source file. This is a bit more technical, but just take my word for it and look at the screengrab below:
19862! That’s enormous! I tried setting the width as that and while I didn’t get that size, the server did return a file twice the size of the “full” width image. Weird. If you want to do this yourself, drop in 5000 and see what happens.
The best option for now appears to be:
- Inspect the image and find a tile
- Open the tile in a new tab
- Replace the jtl bit of the url with the commands &wid=5000&cvt=jpeg
If anybody knows how to get the original tif, please let me know!
And that’s how you hack into museum websites and download hi-res images!
I hope you found this guide useful and entertaining. If there are other websites you would like to get hi-res images from, let me know in the comments. I have a few other tricks up my sleeve, which I might write about in another article.
############################################
A little about me
I’m a bibliophile and writer who worked at various museums and publishers, then decided the future was digital. I learned a lot about people, design, and writing, and now use that knowledge to create great user experience.
How to save hi-res images from museum websites was originally published in Hacker Noon on Medium, where people are continuing the conversation by highlighting and responding to this story.
Disclaimer
The views and opinions expressed in this article are solely those of the authors and do not reflect the views of Bitcoin Insider. Every investment and trading move involves risk - this is especially true for cryptocurrencies given their volatility. We strongly advise our readers to conduct their own research when making a decision.
