Latest news about Bitcoin and all cryptocurrencies. Your daily crypto news habit.
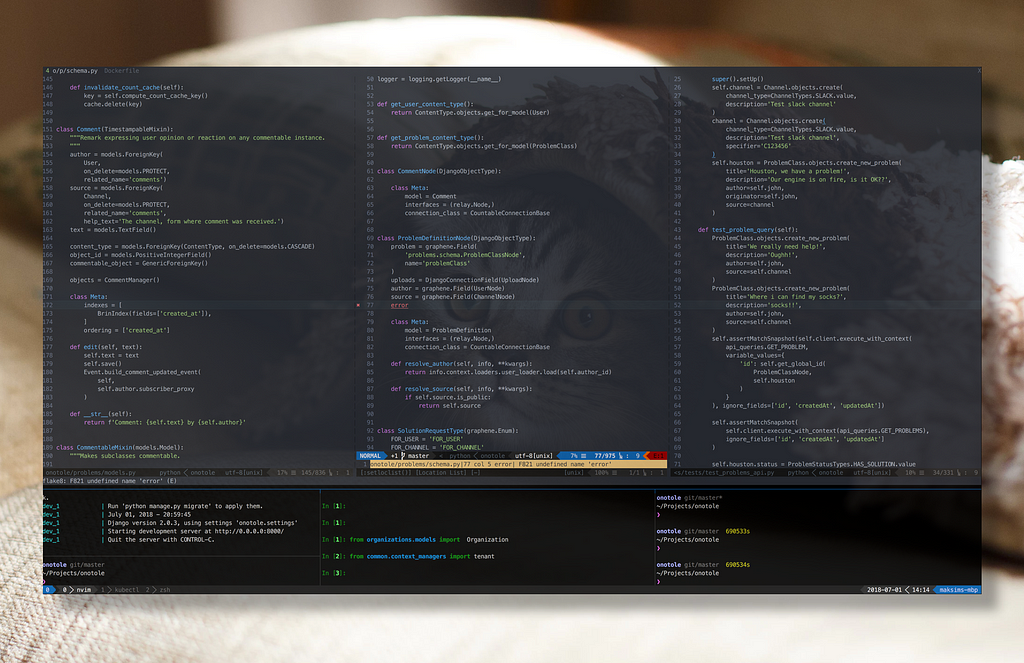
Like many other people, I’ve started my programming journey by using big, powerful, clunky IDEs. I’ve used Borland Delphi, MS VS, Netbeans, Eclipse, IntelliJ IDEA, etc. As the time passed, and I slipped more into the web development, I switched to lighter options. For a while, my editor of choice has been Sublime Text. About three years ago, I’ve completely migrated to Vim, Tmux, and other non-GUI tools, and I’m totally in love with them so far!
Two things triggered the migration. First, at my new job, we all had laptops for working remotely, but most of the development was happening on the powerful stationary workstation located in the office. Using SSHFS or VNC over a shaky internet connection was a pain in the butt, so I needed a better option. Second, I was doing more and more of a DevOps kind of work, which required me editing files on dozens of remote machines every day, and Vi was the only editor available everywhere. Switching to Vim solved both problems for me, and after I discovered the ergonomics, and the plugin ecosystem, I completely ditched Sublime as my primary editor. Recently I noticed that more and more people are asking about my setup whenever they see my screen, so I decided to share it in a blog post.
Installing Neovim
Neovim is an ambitious project of refactoring a 27 years old Vim codebase from scratch. You can read more about their vision here.Ways to install Neovim vary per OS, so it’s better to refer to the original guide. From here on I’ll assume Ubuntu 18.04, but most of the configuration will be OS-independent, only installation steps will be different.In Ubuntu 18.04 Neovim is included in the distribution, so you can just do
sudo apt-get install neovim
On Mac OS it is available via Homebrew:
brew install neovim
To invoke Neovim, you’d need to call nvim, which is one letter longer than just vim and isn’t compatible with machines where there’s only regular vim available. To fix this you can define an alias in your rc script:
alias vim=’nvim’
I personally chose a hardcore way: deleted a/usr/bin/vim and replaced it with a symlink to the Neovim:
sudo rm /usr/bin/vim && sudo ln -s /usr/bin/nvim /usr/bin/vim
Installing Plug
Before doing anything else with Vim, it’s better to install a plugin manager. I chose vim-plug, because it’s very minimalistic and still does the job. To install Plug for Neovim:
curl -fLo ~/.local/share/nvim/site/autoload/plug.vim --create-dirs \ https://raw.githubusercontent.com/junegunn/vim-plug/master/plug.vim
Vim-plug is the only plugin that needs to be added manually, the rest of them will be installed via Plug.
Installing Tmux
The next thing we’ll configure is Tmux. Tmux is a terminal multiplexer, which allows us to do these key things:
- Split a terminal window into horizontal and vertical panels
- Split a single terminal into multiple windows
- Keep all the processes running in Tmux alive, even if we lost an SSH connection.
Tmux runs on the remote side (if we’re talking about development on the remote machine) and is itself split into a tmux-server, and a tmux-client. When you connect to your workstation via SSH, you first laucnh a tmux-client, which then connects to a tmux-server, running on the same machine as a daemon. When the connection drops, SSH terminates only the tmux-client part, as it was the only child started by the SSH process. Now, on Ubuntu 18.04, a fresh enough Tmux is already included in the distribution, so just do:
sudo apt-get install tmux
On other platforms, please make sure you’re installing tmux >= 2.0, as some things in my config are incompatible with older versions.
Installing Zsh
I prefer Zsh over bash, because of few extra features it provides: a command history, shared among all running shells, fancier command autocompletion, and extensibility through oh-my-zsh. On Ubuntu run:
sudo apt-get install zsh
and then make it a default shell for your user:
chsh -s /bin/zsh
(then re-login)
To add oh-my-zsh:
sh -c "$(curl -fsSL https://raw.github.com/robbyrussell/oh-my-zsh/master/tools/install.sh)"
Fzf
Who doesn’t love a fuzzy search?
sudo apt-get install gitgit clone --depth 1 https://github.com/junegunn/fzf.git ~/.fzf~/.fzf/install
Then just answer yes to everything, and it will make your ZSH fuzzy in several ways. Just try pressing Ctrl+R or Ctrl+T.
~/.zshrc customizations
Here are some things I like to have in my rc file:
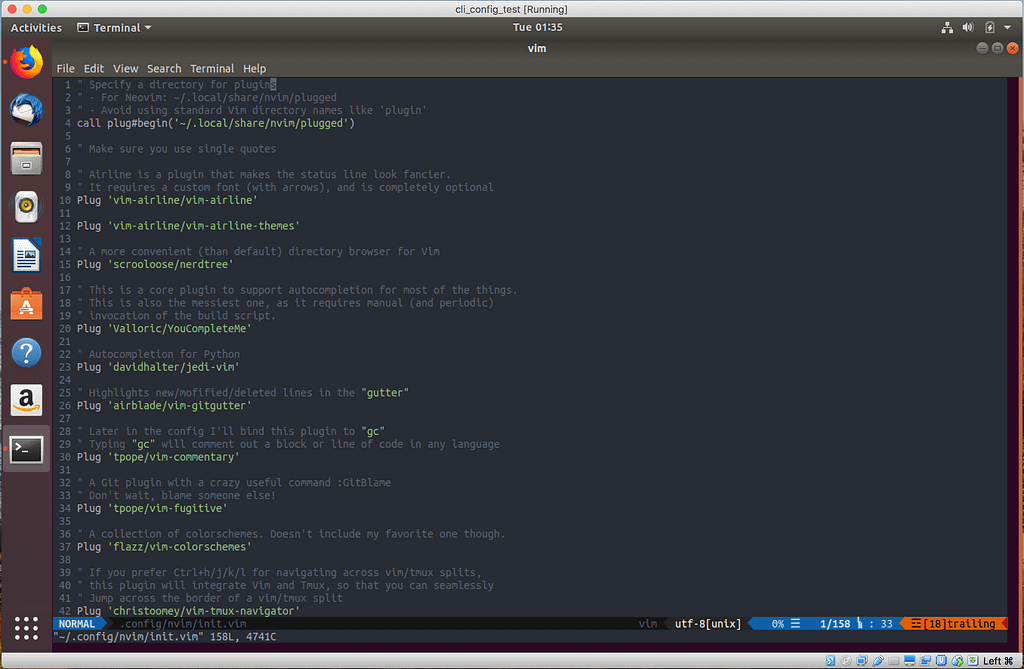
Finally, we’ve installed all the core tools and can now move on to the configuration. Let’s first take a look at my Vim config.
Tweak it to your taste, put under ~/.config/nvim/init.vim, open Vim, and then run :PlugInstall to install all the plugins (ignore startup errors when opening the Vim).
To complete the YCM installation:
cd ~/.local/share/nvim/plugged/YouCompleteMesudo apt-get install build-essential python-dev cmake./install.py
And then, to get rid of these weird symbols at the bottom of your Vim:
sudo apt-get install fonts-powerline
(you may need to restart your terminal after a font installation)
After all the manipulations your Vim should look somewhat like this:
Tmux config
I’ve done a few tweaks to my Tmux config as well.As with Vim, you should start by installing a plugin manager:
git clone https://github.com/tmux-plugins/tpm ~/.tmux/plugins/tpm
Here’s my full Tmux config:
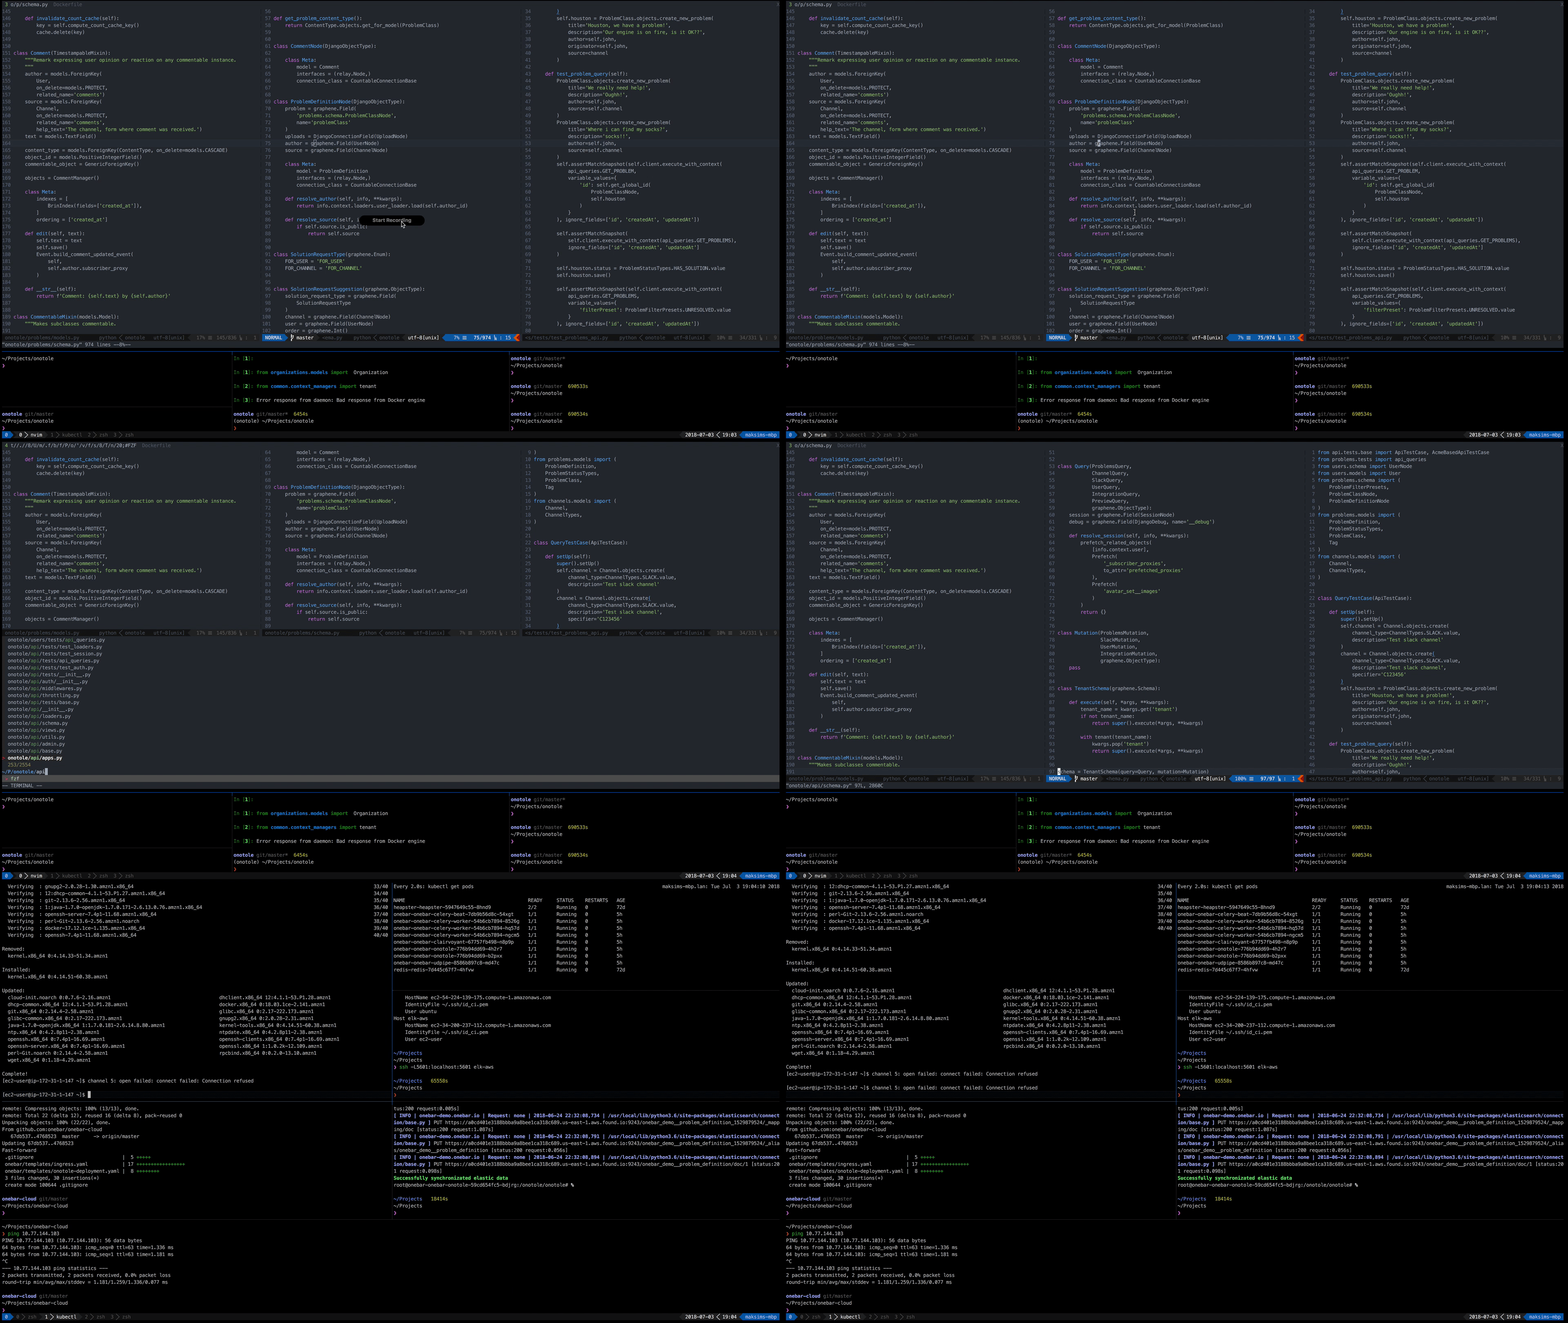
Put it under ~/.tmux.conf (and ~/.tmuxline ) and (re)start your Tmux.Here’s the screenshot after completing all the steps above:
You should be able to recreate my setup by just copying and pasting stuff from this post. The real beauty of CLI tools is that they’re incredibly customizable. You should definitely take this config and use it as a template for your own experiments!
A few more tips at the end:
- Vim doesn’t make sense without Vim navigation, so get used to those damn HJKL.
- Remap CapsLock to Esc, especially on new Mac laptops
- Get yourself one of those curvy keyboards, and your hands will thank you!
That was it for this post. If you liked it, you could also check out what am I building using all these tools.
Links
Another reason why your Docker containers may be slow
A Knowledge Base right in your Slack
CLIfe or my development setup was originally published in Hacker Noon on Medium, where people are continuing the conversation by highlighting and responding to this story.
Disclaimer
The views and opinions expressed in this article are solely those of the authors and do not reflect the views of Bitcoin Insider. Every investment and trading move involves risk - this is especially true for cryptocurrencies given their volatility. We strongly advise our readers to conduct their own research when making a decision.


