Latest news about Bitcoin and all cryptocurrencies. Your daily crypto news habit.
 http://www.slowcoder.com
Are you tired of maintaining your CMS (WordPress, Drupal, etc) ? Paying expensive hosting fees ? Fixing security issues everyday ?
I discovered not long ago a new blogging framework called Hexo which let you publish Markdown documents in the form of blog post. So as always I got my hands dirty and wrote this post to show you how to build a production-ready blog with Hexo and use the AWS S3 to make your blog Serverless and pay only per usage. Along the way, I will show you how to automate the deployment of new posts by setting up a CI/CD pipeline.
To get started, Hexo requires Node.JS & Git to be installed. Once all requirements are installed, issue the following command to install Hexo CLI:
npm install -g hexo-cli
Next, create a new empty project:
hexo init slowcoder.com
Modify blog global settings in _config.yml file:
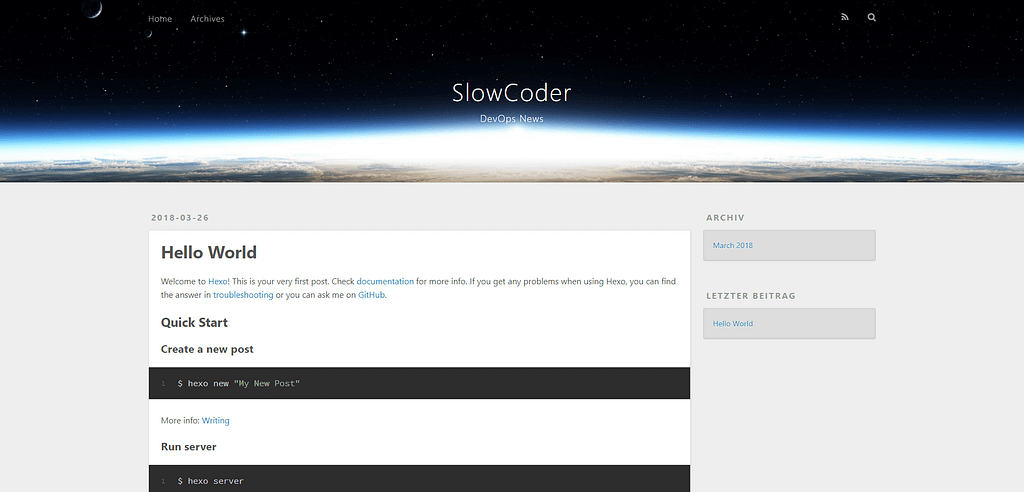
Start a local server with “hexo server“. By default, this is at http://localhost:4000. You’ll see Hexo’s pre-defined “Hello World” test post:
If you want to change the default theme, you just need to go here and find a new one you prefer.
I opt for Magnetic Theme as it includes many features:
- Disqus and Facebook comments
- Google Analytics
- Cover image for posts and pages
- Tags Support
- Responsive Images
- Image Gallery
- Social Accounts configuration
- Pagination
Clone the theme GitHub repository as below:
git clone https://github.com/klugjo/hexo-theme-magnetic themes/magnetic
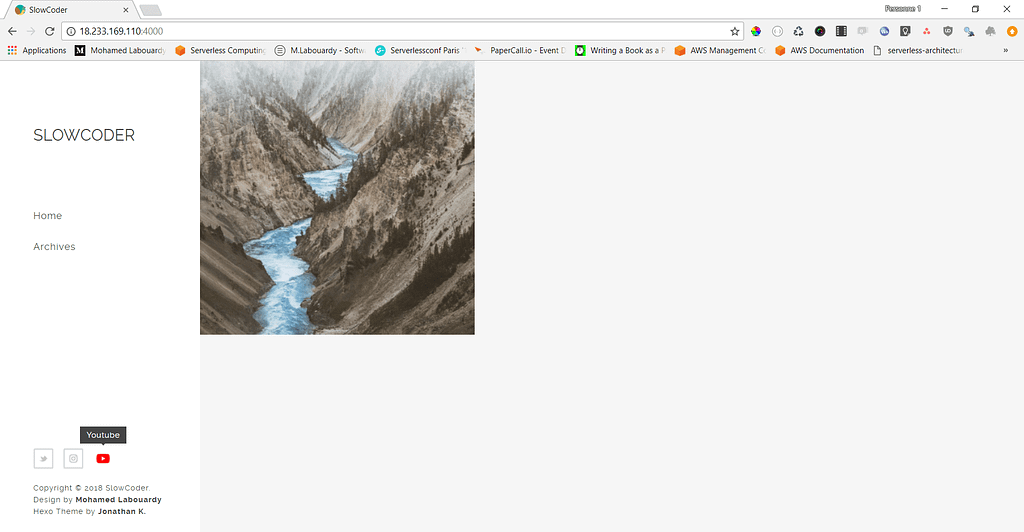
Then update your blog’s main _config.yml to set the theme to magnetic. Once done, restart the server:
Now you are almost done with your blog setup. It is time to write your first article. To generate a new article file, use the following command:
hexo new POST_TITLE
Now, sign in to AWS Management Console, navigate to S3 Dashboard and create an S3 Bucket or use the AWS CLI to create a new one:
aws s3 mb s3://slowcoder.com
Add the following policy to the S3 bucket to make all objects public by default:
Next, enable static website hosting on the S3 bucket:
aws s3 website s3://slowcoder.com — index-document index.html
In order to automate the process of deployment of the blog to production each time a new article is been published. We will setup a CI/CD pipeline using CircleCI.
Sign in to CircleCI using your GitHub account, then add the circle.yml file to your project:
Note: Make sure to set the AWS Access Key ID and Secret Access Key in your Project’s Settings page on CircleCI (s3:PutObject permission).
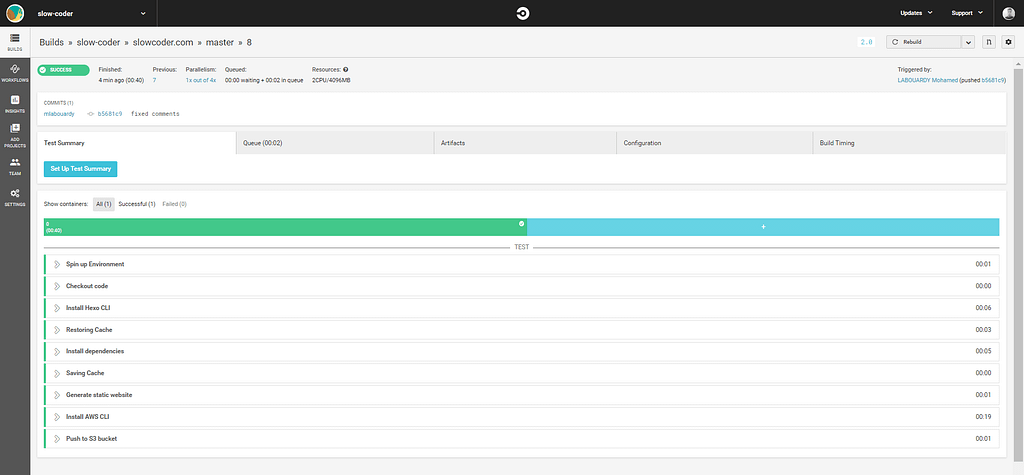
Now every time you push changes to your GitHub repo, CircleCI will automatically deploy the changes to S3. Here’s a passing build:
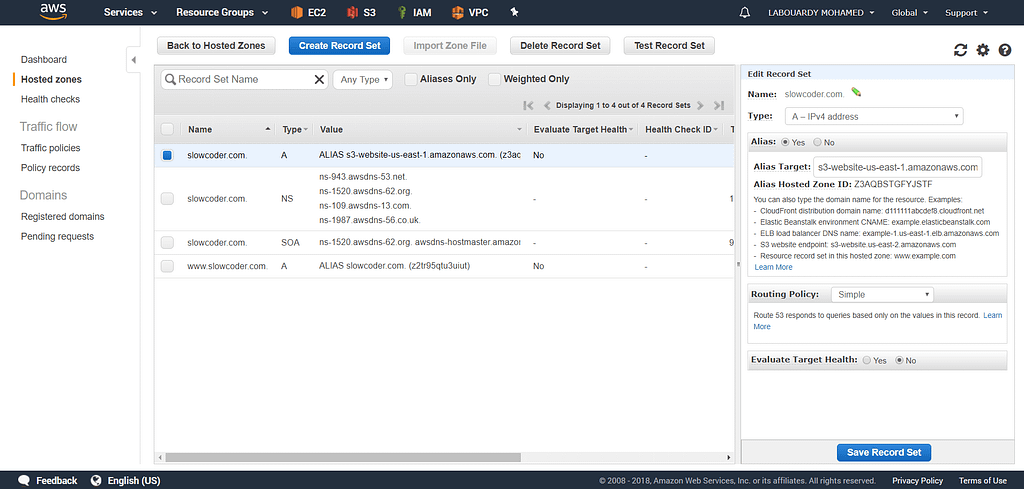
Finally, to make our blog user-friendly, we will setup a custom domain name in Route53 as below:
Note: You can go further and setup a CloudFront Distribution in front of the S3 bucket to optimize delivery of blog assets.
You can test your brand new blog now by typing the following adress: http://slowcoder.com :
Build a Serverless Production-Ready Blog was originally published in Hacker Noon on Medium, where people are continuing the conversation by highlighting and responding to this story.
Disclaimer
The views and opinions expressed in this article are solely those of the authors and do not reflect the views of Bitcoin Insider. Every investment and trading move involves risk - this is especially true for cryptocurrencies given their volatility. We strongly advise our readers to conduct their own research when making a decision.


