Latest news about Bitcoin and all cryptocurrencies. Your daily crypto news habit.
This is a step by step article on how to build a basic analytics tool for GitHub profiles, using React. The emphasis was placed on achieving functionality quickly, therefore the end result does require further code refactoring and styling. The article is formed of two parts (Part 1, Part 2) and is based on the following GitHub repository. It is also hosted in this website. Please note that both the repository and the website will evolve beyond these two articles.
To begin load create-react-app (this is assuming npm and create react app are already installed)
create-react-app github_analytics
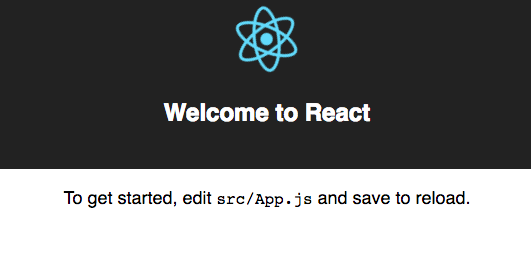
Once this has been completed , change directories withcd github_analytics and enter npm start to check that everything is working fine. You should see the following page in the browser.
Begin by deleting the following files: logo.svg, index.css, App.css. Change App.js name to App.jsx (don’t forget its imports in App.test.jsx and index.js). Also chance its content to the following:
import React, { Component } from 'react';class App extends Component { render() { return ( <div className="App"> <header className="App-header"> <h1 className="App-title">GitHub Analytics</h1> </header> <p className="App-intro"> Watch this space... </p> </div> ); }}export default App;
Create sub-folder components in src. Here lets create our first component Button.jsx as follows:
import React from 'react';
const Button = (props) => { return ( <button className='button' onClick={()=>{props.handleClick()}}>Search</button> ) };export default Button;
Adjust App.jsx to the following:
import React, { Component } from 'react';import Button from './components/Button.jsx';class App extends Component { constructor() { super(); this.handleClick = this.handleClick.bind(this) }handleClick(e) { alert("The button was clicked"); }render() { return ( <div className="App"> <header className="App-header"> <h1 className="App-title">GitHub Analytics</h1> </header> <p className="App-intro"> Watch this space... </p> <Button handleClick={this.handleClick}/> </div> ); }}export default App;
This should result in The button was clicked! alert, when pressing on Search button.
Next we will need to run npm install axios -save. This installs axios, which allows to make HTTP requests. Once it has been installed, App.jsx will need to be changed to:
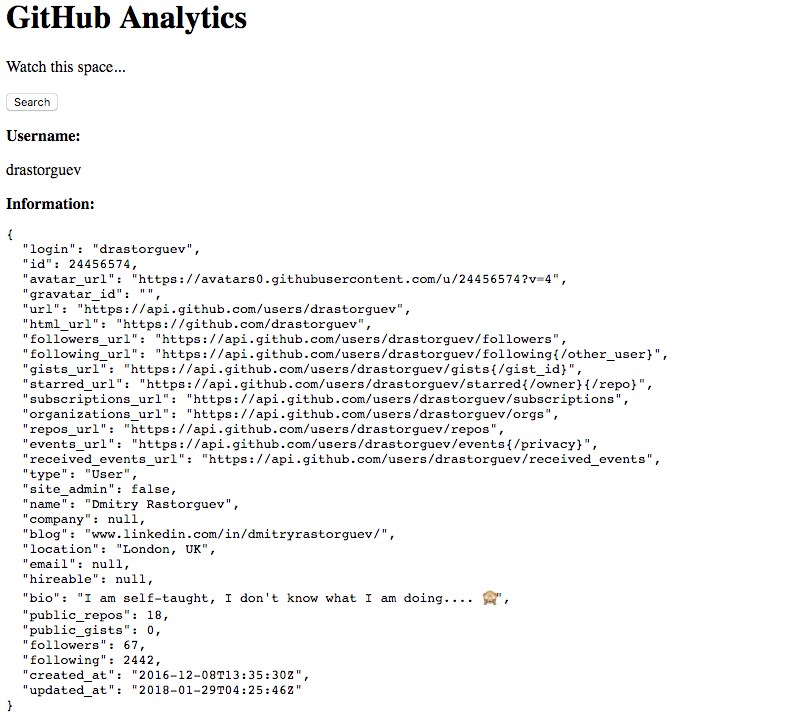
import React, { Component } from 'react';import Button from './components/Button.jsx';import axios from 'axios';class App extends Component { constructor() { super(); this.state = { username: 'No username', info: '' } this.handleClick = this.handleClick.bind(this) }handleClick(e) { axios.get('https://api.github.com/users/drastorguev') .then(response => this.setState({ username: response.data.login, info : JSON.stringify(response.data, undefined, 2) })); }render() { return ( <div className="App"> <header className="App-header"> <h1 className="App-title">GitHub Analytics</h1> </header> <p className="App-intro"> Watch this space... </p> <Button handleClick={this.handleClick}/> <p><b>Username:</b></p> <p>{this.state.username}</p> <b>Information:</b> <pre>{this.state.info}</pre> </div> ); }}export default App;
This results in data being automatically collected for my GitHub account.
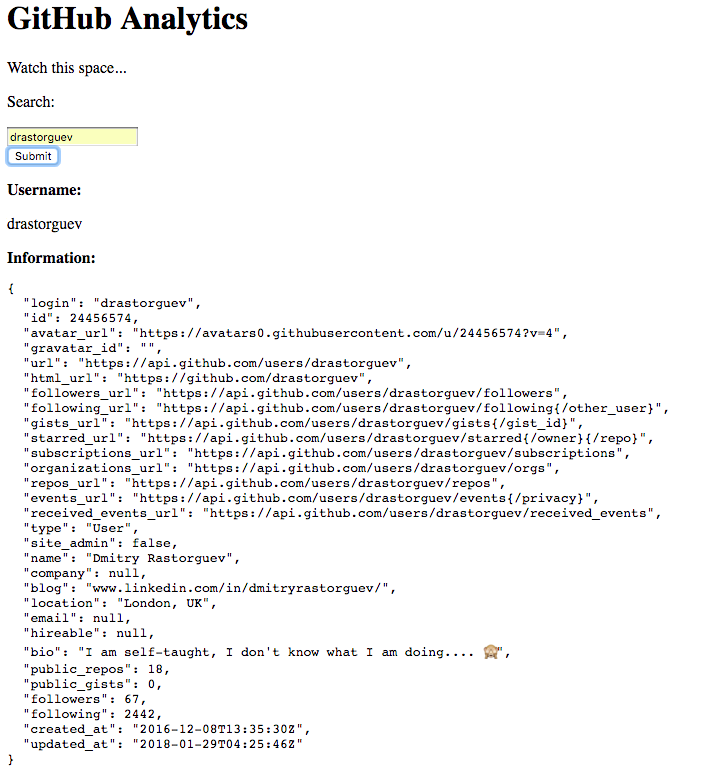
Finally, we will replace Search button with a form to allow users to search GitHub by username. To do this, we first need to create Form.jsx component.
import React from 'react';
const Form = (props) => { return (<form onSubmit={(event) => props.handleUserFormSubmit(event)}> <label> <p>Search:</p> <input name="username" type="text" placeholder="GitHub username" required value={props.formData.username} onChange={props.handleFormChange} /> </label> <div> <input type="submit" value="Submit" /> </div> </form>)};
export default Form;
Similarly, App.jsx will need to be replaced as follows:
import React, { Component } from 'react';import axios from 'axios';import Form from './components/Form.jsx';
class App extends Component { constructor() { super(); this.state = { gitun: 'No username', info: '', formData: { username: '', } } this.handleUserFormSubmit = this.handleUserFormSubmit.bind(this); this.handleFormChange= this.handleFormChange.bind(this); }handleUserFormSubmit(event) { event.preventDefault(); axios.get('https://api.github.com/users/'+this.state.formData.username) .then(response => this.setState({ gitun: response.data.login, info : JSON.stringify(response.data, undefined, 2) })).catch((err) => { console.log(err); }); };handleFormChange(event) { const obj = this.state.formData; obj[event.target.name] = event.target.value; this.setState(obj); };render() { return ( <div className="App"> <header className="App-header"> <h1 className="App-title">GitHub Analytics</h1> </header> <p className="App-intro"> Watch this space... </p> <Form formData={this.state.formData} handleUserFormSubmit={this.handleUserFormSubmit} handleFormChange={this.handleFormChange} /> <p><b>Username:</b></p> <p>{this.state.gitun}</p> <b>Information:</b> <pre>{this.state.info}</pre></div> ); }}
export default App;
Your page should look some similar to a screenshot below.
We are now able to to request any data from GitHub API and display it on our webpage. Therefore, this concludes Part 1. In Part 2 we will add 3 different sections: basic information, list of most popular and starred repos and, finally, analyse most common languages of user’s own repos and generate keywords to starred repos.
Feel free to track the progress of this project on GitHub and on its website.
Building GitHub Profile Analytics using React || PART 1 was originally published in Hacker Noon on Medium, where people are continuing the conversation by highlighting and responding to this story.
Disclaimer
The views and opinions expressed in this article are solely those of the authors and do not reflect the views of Bitcoin Insider. Every investment and trading move involves risk - this is especially true for cryptocurrencies given their volatility. We strongly advise our readers to conduct their own research when making a decision.


