Latest news about Bitcoin and all cryptocurrencies. Your daily crypto news habit.
The Comprehensive Beginner’s Guide to Android Geolocation Tracking
Combining the Google Maps API and PubNub for realtime tracking of Android device location Brought to you by PubNub
Realtime mapping and geolocation tracking is a core feature of web and mobile apps across every industry — detect and stream location data to a live-updating map to smoothly watch location updates as they change in the real world. With that, Android geolocation tracking is an essential technology today.
Tutorial Overview
This is a 4-part tutorial on building realtime maps for Android using the Google Maps API and PubNub. We’ll begin with basics, to get your Android environment set up, then add realtime geolocation functionality in Parts 2–4.
- Part One: Google Maps API and Android Setup (you’re here!)
- Part Two: Live Map Markers
- Part Three: Live Location Tracking
- Part Four: Flight Paths
In the end, you’ll have a basic Android location tracking app with map markers, device location-tracking, and flight paths, powered by the Google Maps API and PubNub.
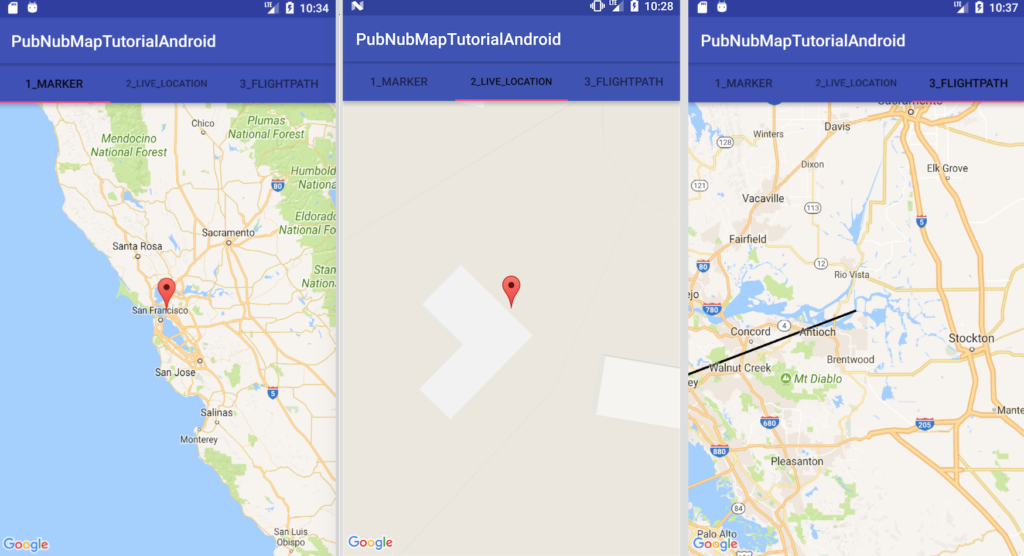
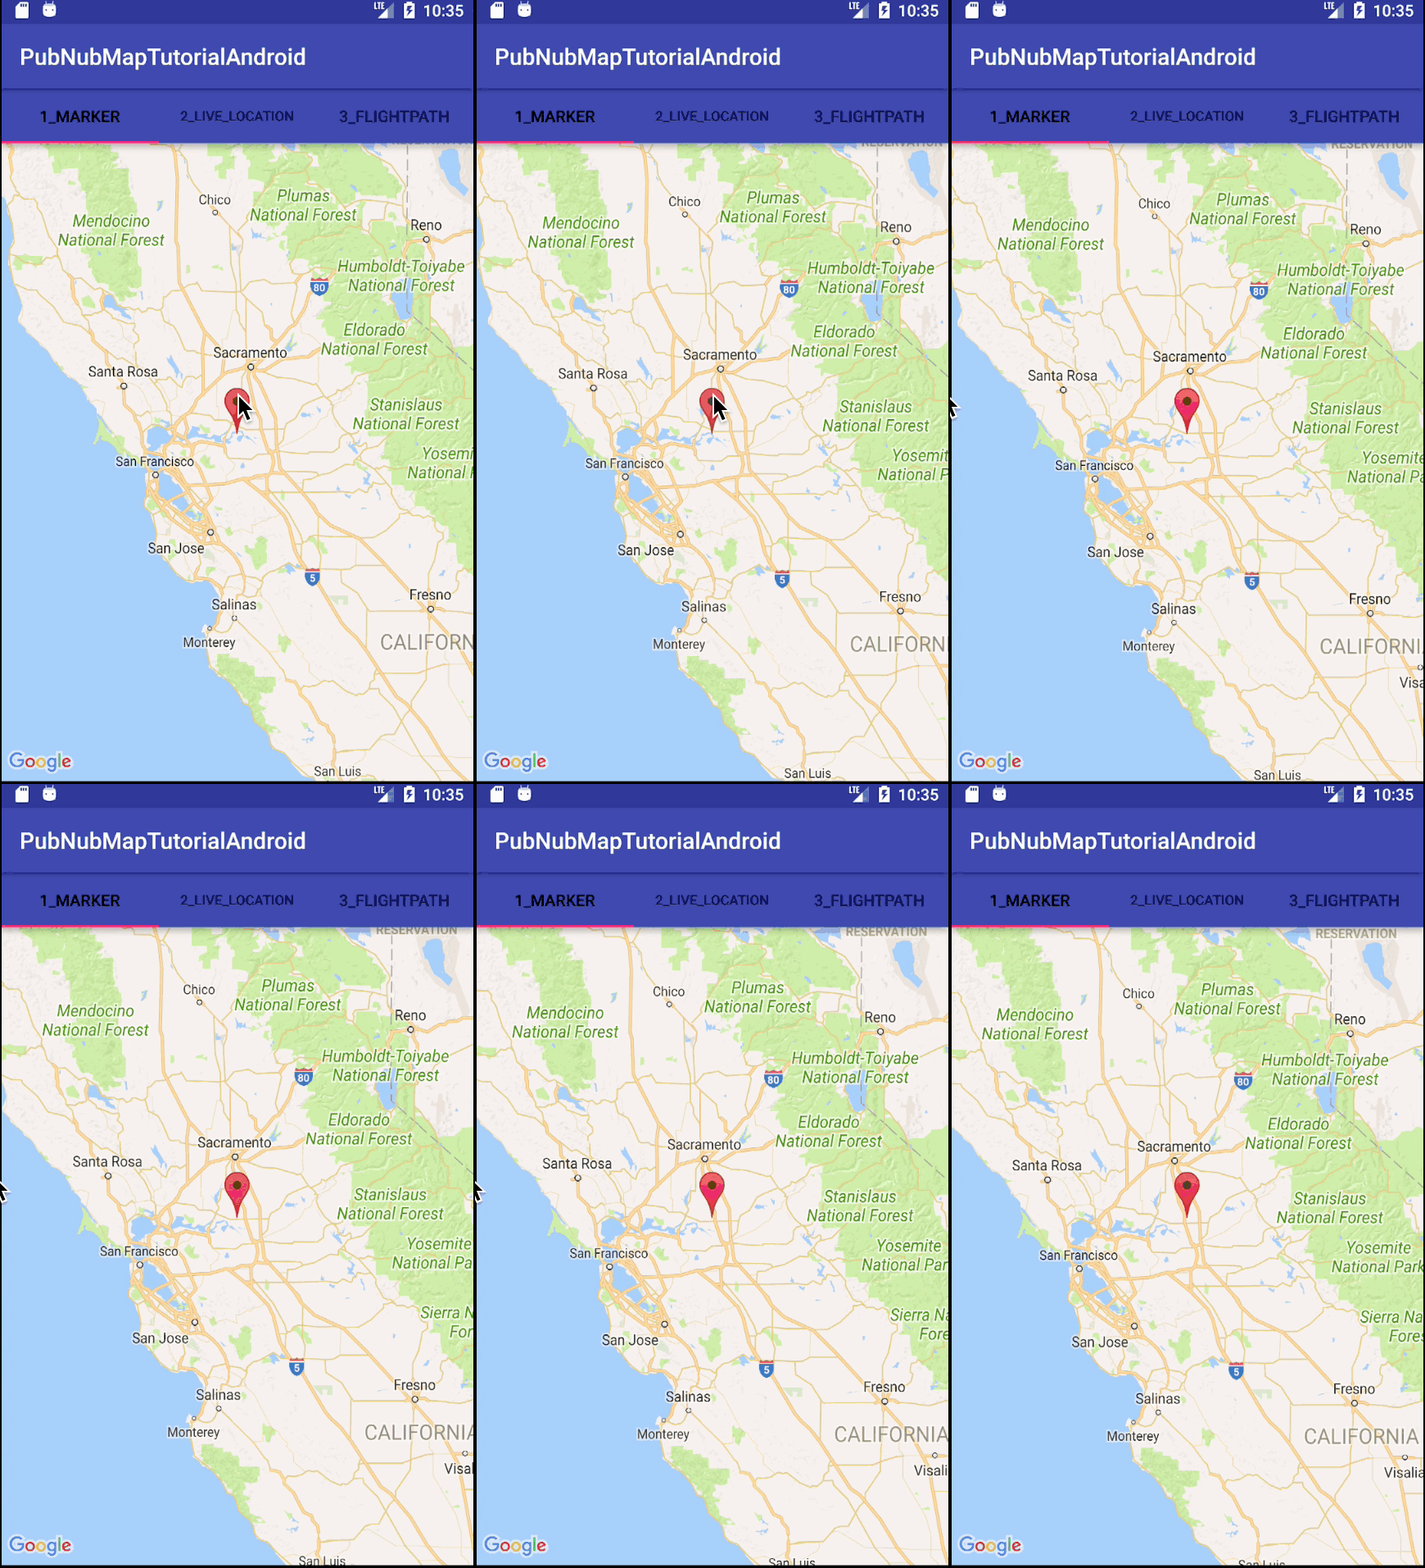
Here are a couple of screenshots of our application:
For this tutorial, we presume you are working with an Android application running Version 23 (Marshmallow) or higher, as this tutorial is intended primarily for mobile devices.
The code for the example used in this tutorial series is available in our GitHub repository. It’s visible via the web UI as well as by using Git to clone the folder to your local machine.
Source Code
Complete source code is available in our GitHub repository.
Part One: Android, Google Maps API and PubNub Setup
Getting our environment set up, and signed up for the Google Maps and PubNub services.
PubNub Developer Keys
To get started, you’ll first need your PubNub publish and subscribe keys. You’ll need to sign up here, and your pub/sub keys are available in the Admin Dashboard. The keys look like UUIDs and start with “pub-c-” and “sub-c-” prefixes respectively.
Once you have your pub/sub keys, create a new PubNub application to represent your Android application (and any other systems that communicate using the same channels). The PubNub application will include publish and subscribe keys that applications can use for those specified features.
Create your Google Maps API Project and Credentials
To integrate with Google Maps, you’ll need to create a Google Maps API key. To do so, check out this getting started guide.
This creates a unique API key that can be locked down to whatever Android apps you like. You can manage your credentials in the Google API console here.
PubNub Overview
In our Android application, PubNub provides the realtime communication capability that lets our Android application receive incoming events as the position of a remote object (latitude and longitude) changes.
The core PubNub feature we’ll use is Realtime Messaging. Our application uses a PubNub channel to send and receive position changed events.
In this sample example, the same application both sends and receives the position events, so consider it is both the publisher and subscriber. But in your application, the publisher (sender) system(s) may be different from the subscriber (receiving) system(s).
Google Maps API Overview
The Google Maps API provides an Android Map widget that displays a map based on your configuration. The map size, map center latitude and longitude, zoom level, map style and other options may be configured to your initial preferences and updated on the fly.
It also provides an initialization callback option that calls a function you specify when the map is loading. You can use features like Map Markers and Polylines which allow you to place friendly markers and flight paths on the map at the location(s) you specify. All the points are user-specified and may be updated in real time as updates arrive.
Google Maps provides great mapping functionality, and combined with PubNub for the realtime location coordinates updates, the two work incredibly well together.
Working with the Code
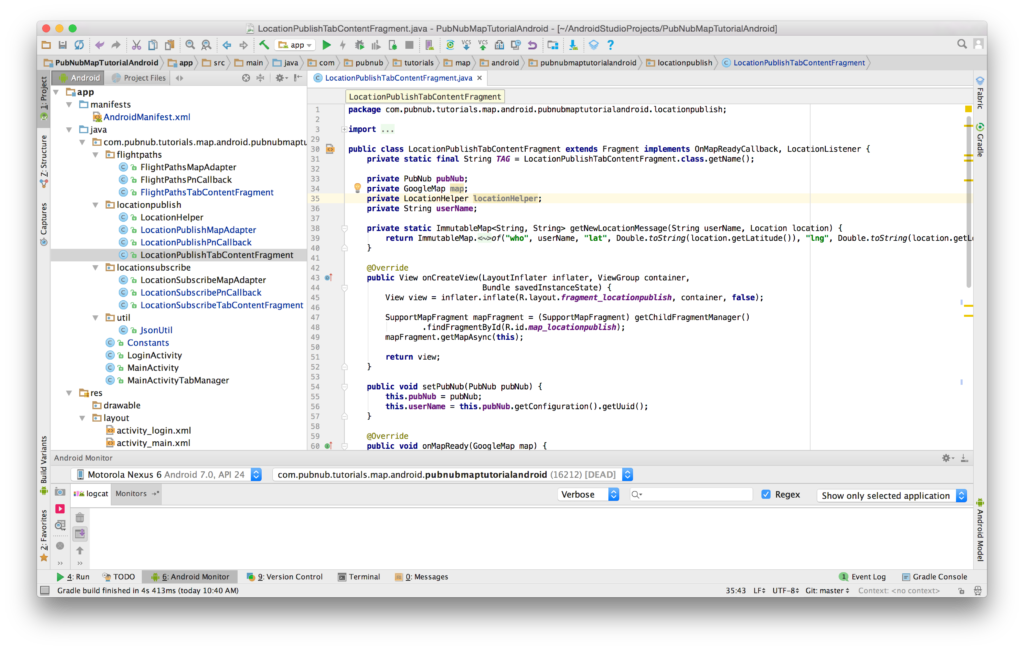
First, clone the code onto your local machine using Git or the import project feature of Android Studio. Once the project is imported, you’ll be able to modify the files using the IDE like this:
Once you’re in the IDE, you’ll be able to perform the minor code changes to get the app running quickly.
Application Setup and Configuration
This code structure should be familiar if you’ve worked with Android applications in the past. We start with a plain Android application that has two activities:
- LoginActivity, which simply collects a username
- MainActivity, that contains a tabbed view for all of our realtime location features.
We include the PubNub library for realtime communications in the build.gradle file.
compile group: 'com.pubnub', name: 'pubnub-gson', version: '4.12.0'
You’ll also want to include the Google Maps API via Play Services. At the time of writing, the relevant version is 11.0.4.
compile 'com.google.android.gms:play-services:11.0.4'
There are a few key permission settings you’ll need to set up in your AndroidManifest.xml.
<uses-permission android:name="android.permission.INTERNET" />
<uses-permission android:name="android.permission.ACCESS_NETWORK_STATE"/>
<uses-permission android:name="android.permission.ACCESS_FINE_LOCATION"/>
While you’re in there, you’ll also need to update the Google Maps API key you set up earlier:
<meta-data android:name="com.google.android.geo.API_KEY" android:value="YOUR_MAPS_KEY"/>
We’ve taken the approach of encapsulating common settings into a Constants.java file — for example, the PubNub publish and subscribe keys mentioned earlier in this tutorial.
public class Constants { public static final String PUBNUB_PUBLISH_KEY = "YOUR_PUB_KEY"; public static final String PUBNUB_SUBSCRIBE_KEY = "YOUR_SUB_KEY";...}
Running the Code
To run the code, you just need to push the green “play” button in the IDE. That will bring up the Android device chooser so you can choose where to run the app. We typically run our apps using emulation first since it’s quicker.
Once you get the hang of that, it’s easy to connect an Android device via USB for live debugging. This is especially handy for testing live location tracking, which isn’t as practical in the emulator.
Part Two: Map Markers
Implementingmap markers to identify where a device is located on a map.
Map markers identify a location on a map through a customizable icon that is overlayed on the map.
To showcase map marker functionality, we’ll place a single map marker and update its location on the fly based on random positions within a bounding box.
Android Activities
Now that we have all of the relevant configuration settings we took care of in Part One, we can look at the actual working code.
The MainActivity file is responsible for collecting the username preference, creating the tabbed view (including 3 tabs), and initializing the PubNub library for realtime communications. In this tutorial, we’ll focus on the first tab, which is responsible for displaying a live updating Map marker.
When we create the TabManager (a container for the three tab fragments), we pass in the PubNub object so that each tab may be initialized properly.
In this case, the LocationSubscribeTabContentFragment has handlers for fragment creation and Google Map initialization. We want to make sure that the view is using the correct layout, and that fragment is properly passed in for getMapAsync callback handler.
The Google Maps initialization callback function populates the map attribute with the initialized GoogleMap object and takes care of subscribing to PubNub message events pertaining to location updates. We also invoke a custom scheduleRandomUpdates() method that periodically publishes new location updates to the channel.
In a real-world application, the data source would likely be different — in many cases, location updates will be published by a backend system or another mobile client entirely.
In the code above, you see two primary interactions with the PubNub API. We register a listener with the realtime data streams to receive events (from one or more channels), and then subscribe to a specific channel (or channels) to receive updates.
PubNub Events
There are two key things to note about the PubNub subscription and listener.
- We create a LocationSubscribePnCallback object to satisfy the PubNub callback API.
- We create a LocationSubscribeMapAdapter to handle updates to the UI.
The reason for this separation is that the PubNub events are coming in asynchronously, whereas UI updates need to be propagated and queued for running on the main UI thread.
The LocationSubscribePnCallback is event-driven and has no dynamic state — it just parses messages (only from the relevant channel) and propagates logical events to the Adapter class.
The LocationSubscribeMapAdapter receives the incoming events and updates the UI accordingly. For the sake of simplicity, we use a java.util.Map to pass data between the PubNub callback and the Adapter.
In a larger example, one should consider using a specialized value object (bean) for type safety and enforce the contract between PnCallback and Adapter. The key thing to remember in this code is the need to perform UI updates in the UI thread — we reduce the amount of code in the doUiUpdate method so that it processes as quickly as possible.
At this point, we have integrated realtime location updates into our Android application. For reference, we’ll also show you the implementation of the scheduleRandomUpdates() method that publishes the location updates to which the application subscribes.
Location Publish Functionality
In the code below, we set up a single-threaded repeating task to publish updates to the channel. Each message contains a new latitude and longitude pair that is moving northeast (increasing latitude and longitude).
In your application, you would likely have a different mechanism for determining location — via Android location API, or a user’s self-reported location for example (which will cover in Part Three).
With that, we now have our Android application, and we’re able to plot map markers.
Part Three: Live Location Tracking
Making map markers move in realtime based on device location.
 What is Geolocation Publishing?
In this tutorial, we’ll live-update our map markers we built in Part Two with live geolocation capabilities.
We’ll use the Google Play Services Location API to collect the user’s location from their device, and stream and publish location changes (based on the device’s self-reported location) to the map using PubNub Realtime Messaging.
Android Activities
As previously stated, the MainActivity file is responsible for collecting the username preference, creating the tabbed view (including three tabs), and initializing the PubNub library for realtime communications. In this tutorial, we’ll focus on the second tab, which is responsible for displaying a live updating map marker with the device’s location.
In this case, the LocationPublishTabContentFragment has handlers for fragment creation and Google Map initialization. We want to make sure that the view is using the correct layout, and that fragment is properly passed in for getMapAsync callback handler.
The Google Maps initialization callback function populates the map attribute with the initialized GoogleMap object and takes care of subscribing to PubNub message events pertaining to location updates. We create a LocationHelper instance to bridge from the Android location services API to our application’s location change handling logic.
In the code above, you see two primary interactions with the PubNub API. We register a listener with the realtime data streams to receive events (from one or more channels), and then subscribe to a specific channel (or channels) to receive updates.
PubNub Events
There are two key things to note about the PubNub subscription and listener. We create a LocationPublishPnCallback object to satisfy the PubNub callback API. We create a LocationPublishMapAdapter to handle updates to the UI.
The reason for this separation is that the PubNub events are coming in asynchronously, whereas UI updates need to be propagated and queued for running on the main UI thread.
The LocationPublishPnCallback is event-driven and has no dynamic state — it just parses messages (only from the relevant channel) and propagates logical events to the Adapter class.
The LocationPublishMapAdapter receives the incoming events and updates the UI accordingly. For the sake of simplicity, we use a java.util.Map to pass data between the PubNub callback and the Adapter.
In a larger example, one should consider using a specialized value object (bean) for type safety and enforce the contract between PnCallback and Adapter. The key thing to remember in this code is the need to perform UI updates in the UI thread — we reduce the amount of code in the doUiUpdate method so that it processes as quickly as possible.
At this point, we have integrated realtime location updates into our Android application. For reference, we’ll also show you the implementation of the LocationHelper class that bridges between Android location services and our application.
Google Play Services Location API
In the code below, we set up a LocationHelper class for bridging between the Google Play Services Location API and our application code.
Google Play location services has a bunch of API-specific callbacks, so we use the LocationHelper class to meld them all into a single “location updated” callback method that may receive a null location (in case of error, disconnection, etc.). The main idea for integration is to create a Google Play Services API client, connect it, and respond to the different callbacks that it may invoke.
In our case, we process the location updated events and dispatch them to the LocationListener that the LocationHelper was instantiated with. We request location updates at a frequency of 5s (5000ms); your application may have a different location update frequency.
We’re now moving our map markers in realtime as the Android device changes location.
Part Four: Flight Paths
Show what route our device has taken by drawing a trail behind the map marker.
What are Flight Paths?
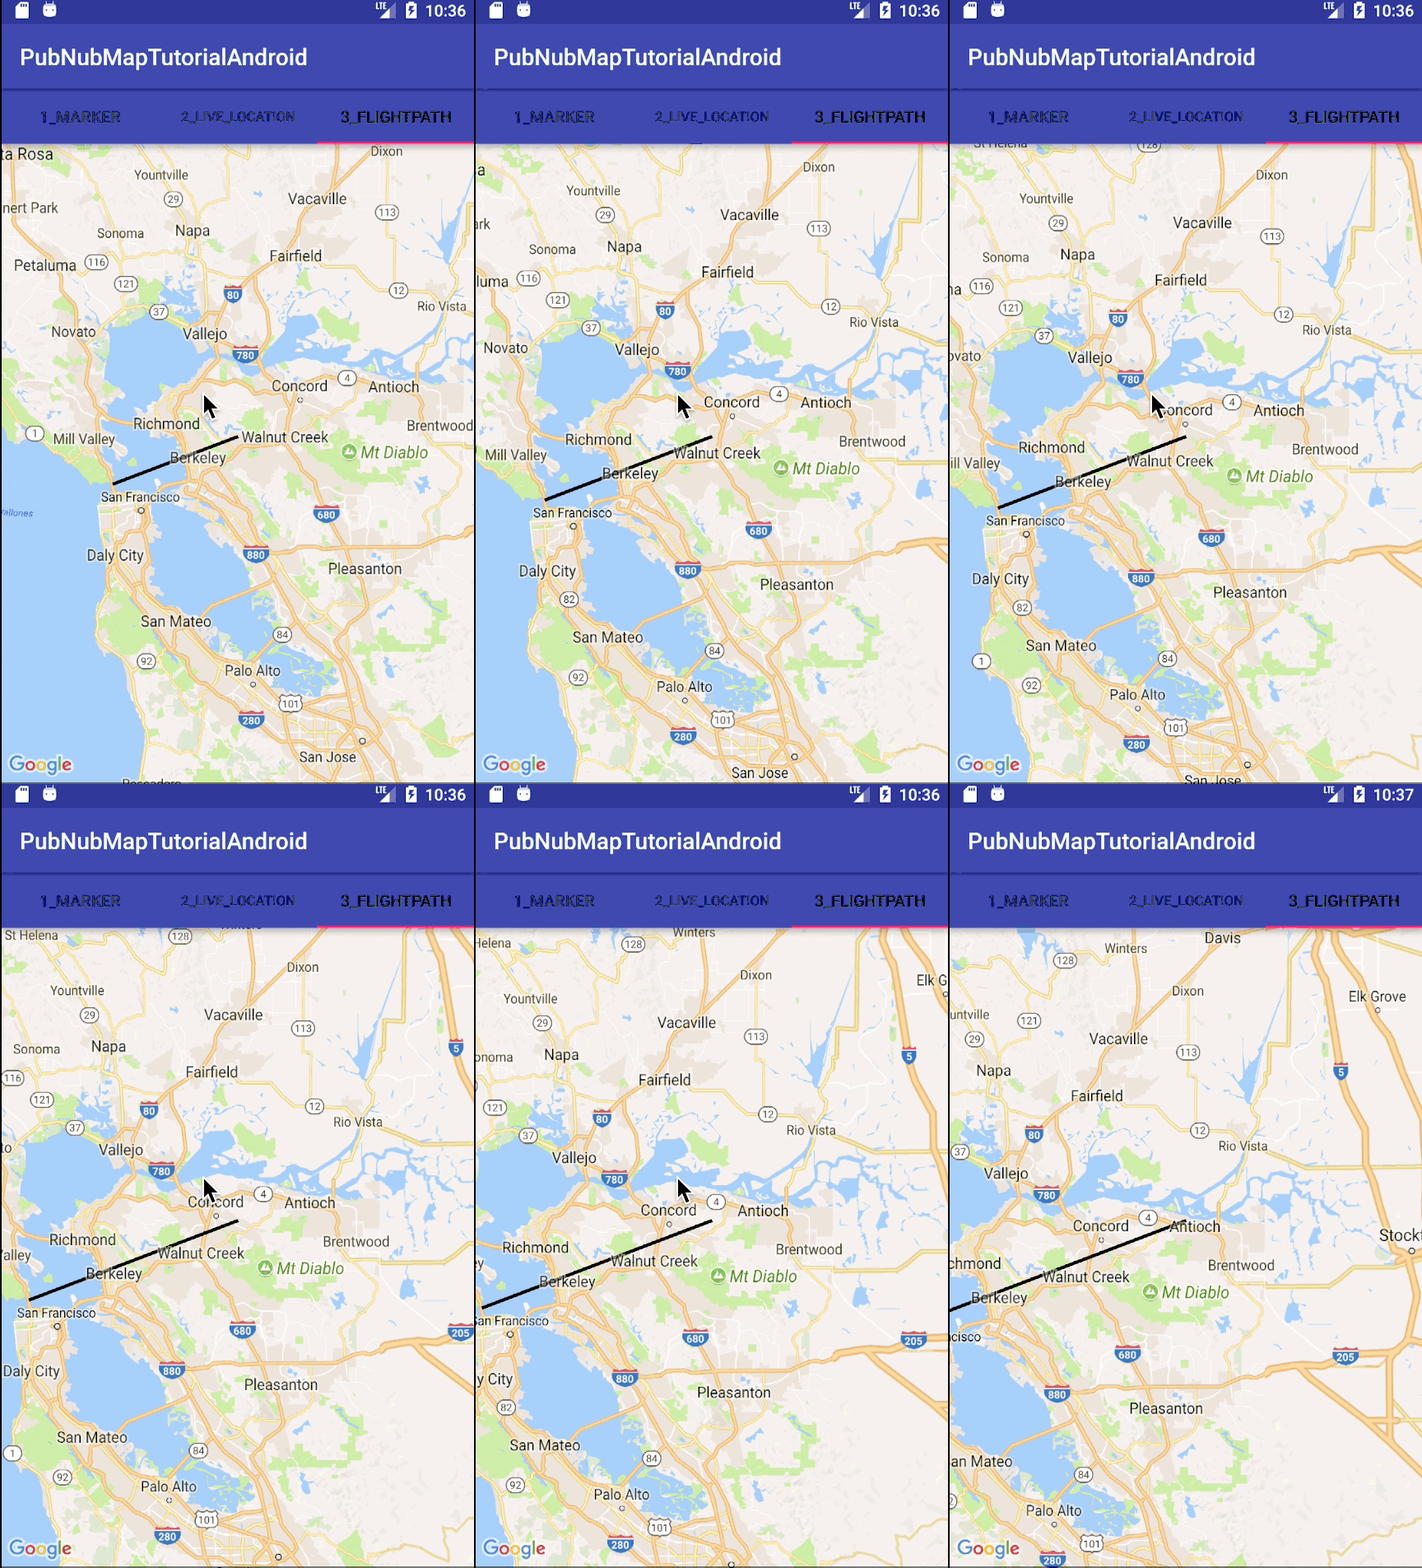
Polylines (flight paths) allow you to dynamically draw an updated path through user-specified points on the map.
To demo the capabilities, we place a single polyline and update its endpoint on the fly based on random positions within a bounding box.
Android Activities
As previously stated, the MainActivity file is responsible for collecting the username preference, creating the tabbed view (including three tabs), and initializing the PubNub library for realtime communications. In this tutorial, we’ll focus on the third tab, which is responsible for displaying a live updating Polyline.
In this case, the FlightPathsTabContentFragment has handlers for fragment creation and Google Map initialization. We want to make sure that the view is using the correct layout, and that fragment is properly passed in for getMapAsync callback handler.
The Google Maps initialization callback function populates the map attribute with the initialized GoogleMap object and takes care of subscribing to PubNub message events pertaining to location updates. We also invoke a custom scheduleRandomUpdates() method that periodically publishes new location updates to the channel.
In a real-world application, the data source would likely be different — in many cases, location updates will be published by a backend system or another mobile client entirely.
In the code above, you see two primary interactions with the PubNub API. We register a listener with the realtime data streams to receive events (from one or more channels), and then subscribe to a specific channel (or channels) to receive updates.
PubNub Events
There are two key things to note about the PubNub subscription and listener. We create a FlightPathsPnCallback object to satisfy the PubNub callback API. We create a FlightPathsMapAdapter to handle updates to the UI.
The reason for this separation is that the PubNub events are coming in asynchronously, whereas UI updates need to be propagated and queued for running on the main UI thread.
The FlightPathsPnCallback is event-driven and has no dynamic state — it just parses messages (only from the relevant channel) and propagates logical events to the Adapter class.
The FlightPathsMapAdapter receives the incoming events and updates the UI accordingly. For the sake of simplicity, we use a java.util.Map to pass data between the PubNub callback and the Adapter.
In a larger example, one should consider using a specialized value object (bean) for type safety and enforce the contract between PnCallback and Adapter.
Polylines
The key thing to remember in this code is the need to perform UI updates in the UI thread — we reduce the amount of code in the doUiUpdate method so that it processes as quickly as possible.
At this point, we have integrated realtime flight paths into our Android application. For reference, we’ll also show you the implementation of the scheduleRandomUpdates() method that publishes the location updates to which the application subscribes.
Location Publish Functionality
In the code below, we set up a single-threaded repeating task to publish updates to the channel. Each message contains a new latitude and longitude pair that is moving northeast (increasing latitude and longitude).
In your application, you would likely have a different mechanism for determining location — via Android location API, or a user’s self-reported location for example.
And that’s it! We hope you found this tutorial series helpful. PubNub and the Google Maps API work wonderfully well together, Google Maps delivering powerful mapping features and functionality, and PubNub connecting them to devices in realtime.
Originally published at www.pubnub.com.PubNub, our weekly sponsor, provides realtime APIs and global messaging infrastructure for building interactive apps of the future.Sign up and get coding.
A Comprehensive Beginner’s Guide to Android Geolocation Tracking was originally published in Hacker Noon on Medium, where people are continuing the conversation by highlighting and responding to this story.
Disclaimer
The views and opinions expressed in this article are solely those of the authors and do not reflect the views of Bitcoin Insider. Every investment and trading move involves risk - this is especially true for cryptocurrencies given their volatility. We strongly advise our readers to conduct their own research when making a decision.
